Category Archives: R/C Aircraft

Trim It Out! Monokote Graphics for your Sport Plane…

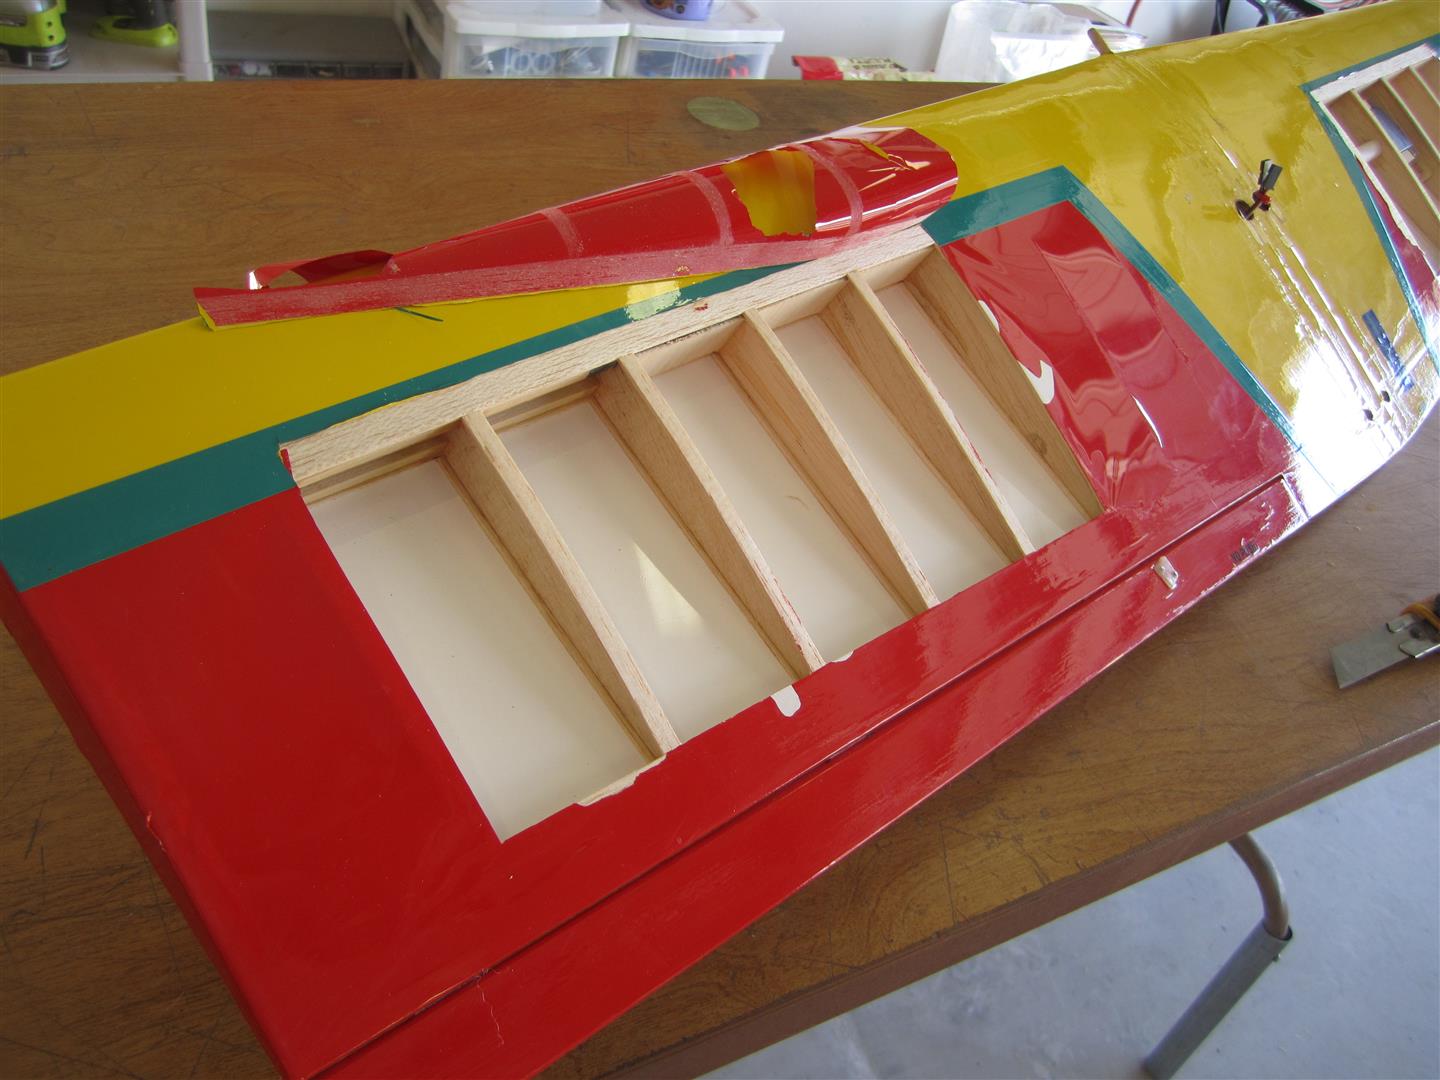
I have always spent a considerable amount of time doing the graphics and trim schemes on my airplanes. I’ve read magazine articles and watched you tube videos about ways that other folks do these processes. This is one method I have learned that is a great time saver. It is most useful when your graphic contains several pieces that all need to be applied in correct relation to each other. I will use a recent repair on my “KWIKI” sport plane for the example. It started with some damage to the top wing covering. I cut away the affected areas and replaced the covering there. Now I am ready to re-do the graphics.

Monokote Graphics (1)   Monokote Graphics (3)

These are the materials you will need for the project;

  • Windex glass cleaner with a mister or spray bottle to apply
  • Sheet of plate glass ($2 at your home improvement center)
  • Glad brand “Press’n Seal” (grocery store)
  • Your graphic printed on ordinary typing paper
  • A sharp exacto or break-away knife
  • Your Monokote colors
  • Masking tape
  • Paper towels
  • Squeegee or old credit card

Monokote Graphics (6)

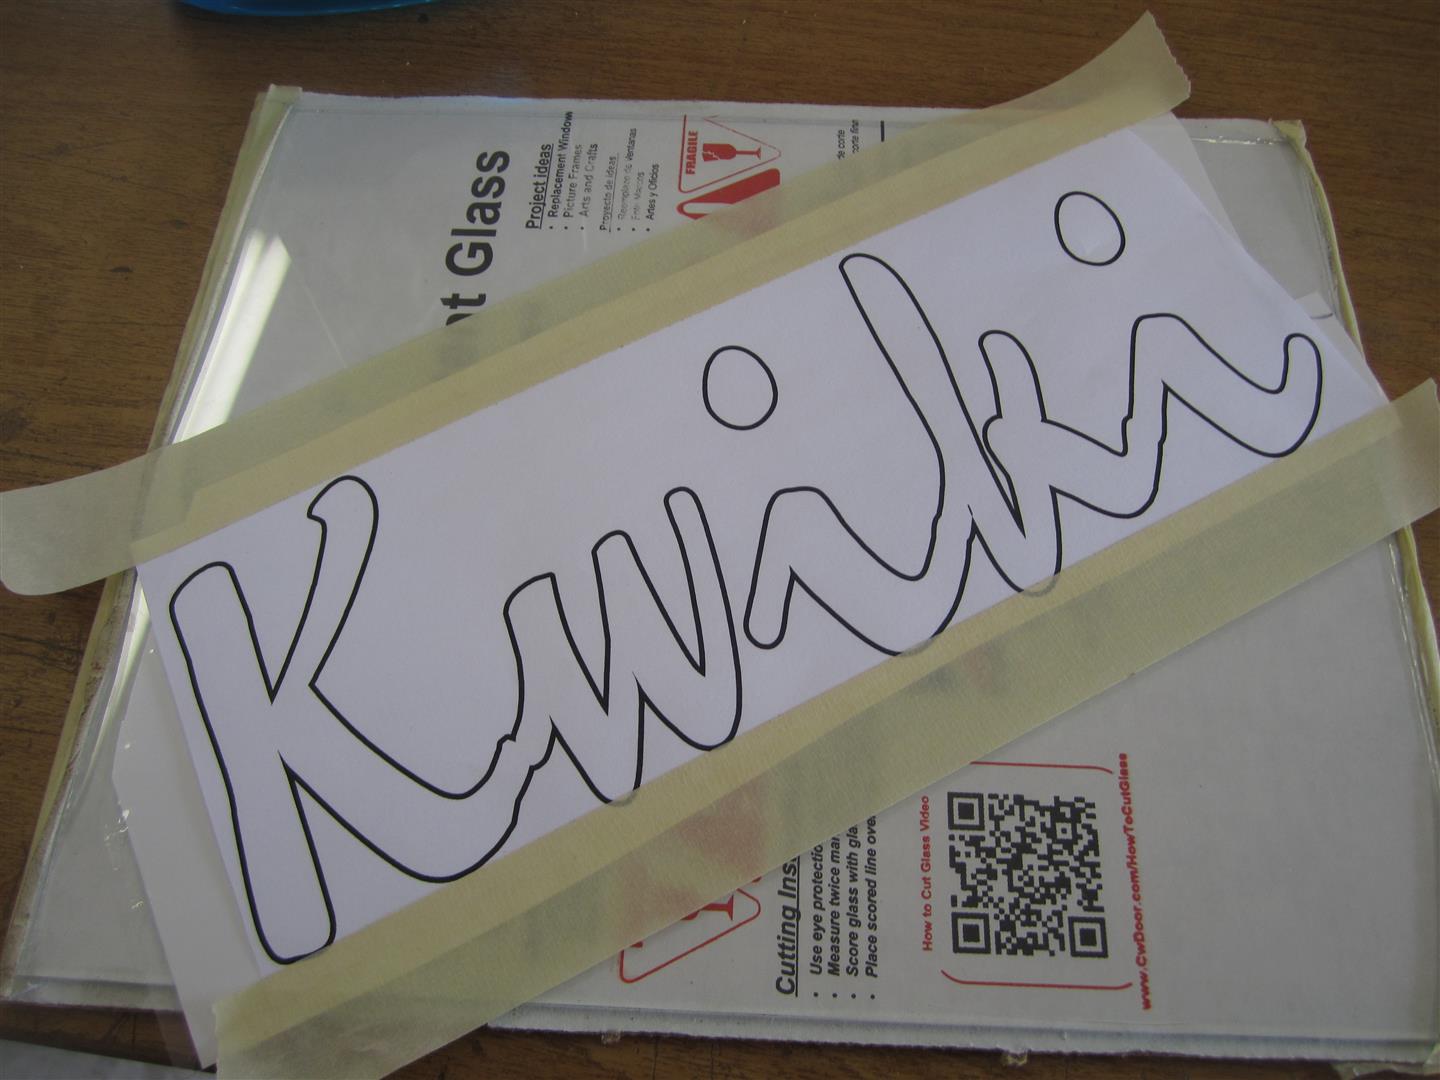
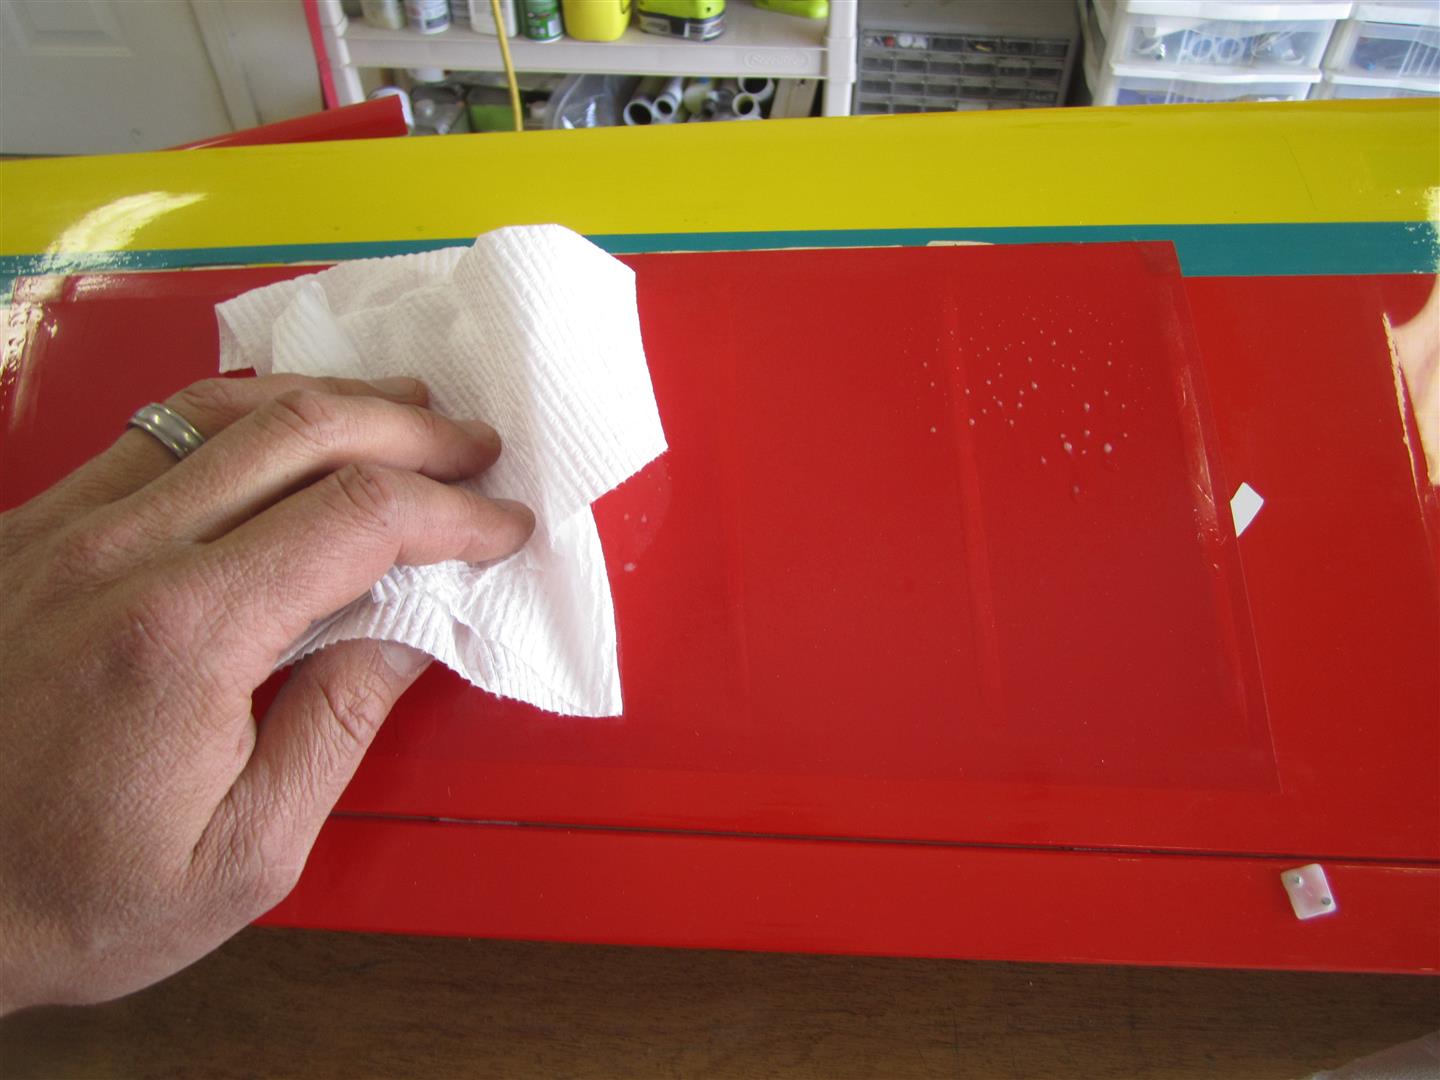
Start by cutting a piece of Monokote just slightly larger than the paper your graphic is printed on. Clean your glass sheet with Windex until it is spotless.

Monokote Graphics (7)   Monokote Graphics (9)

Remove the backing from the Monokote, spray a coat of Windex on the glass, and squeegee the Monokote in place. An old credit card works well for this. Squeegee out as much of the Windex as possible. The idea is to get the Monokote really tight to the glass.  Wipe up the excess Windex with a paper towel, and dry the surface well so masking tape will stick. Squeegee and dry again, if necessary.

Monokote Graphics (10)   Monokote Graphics (11)

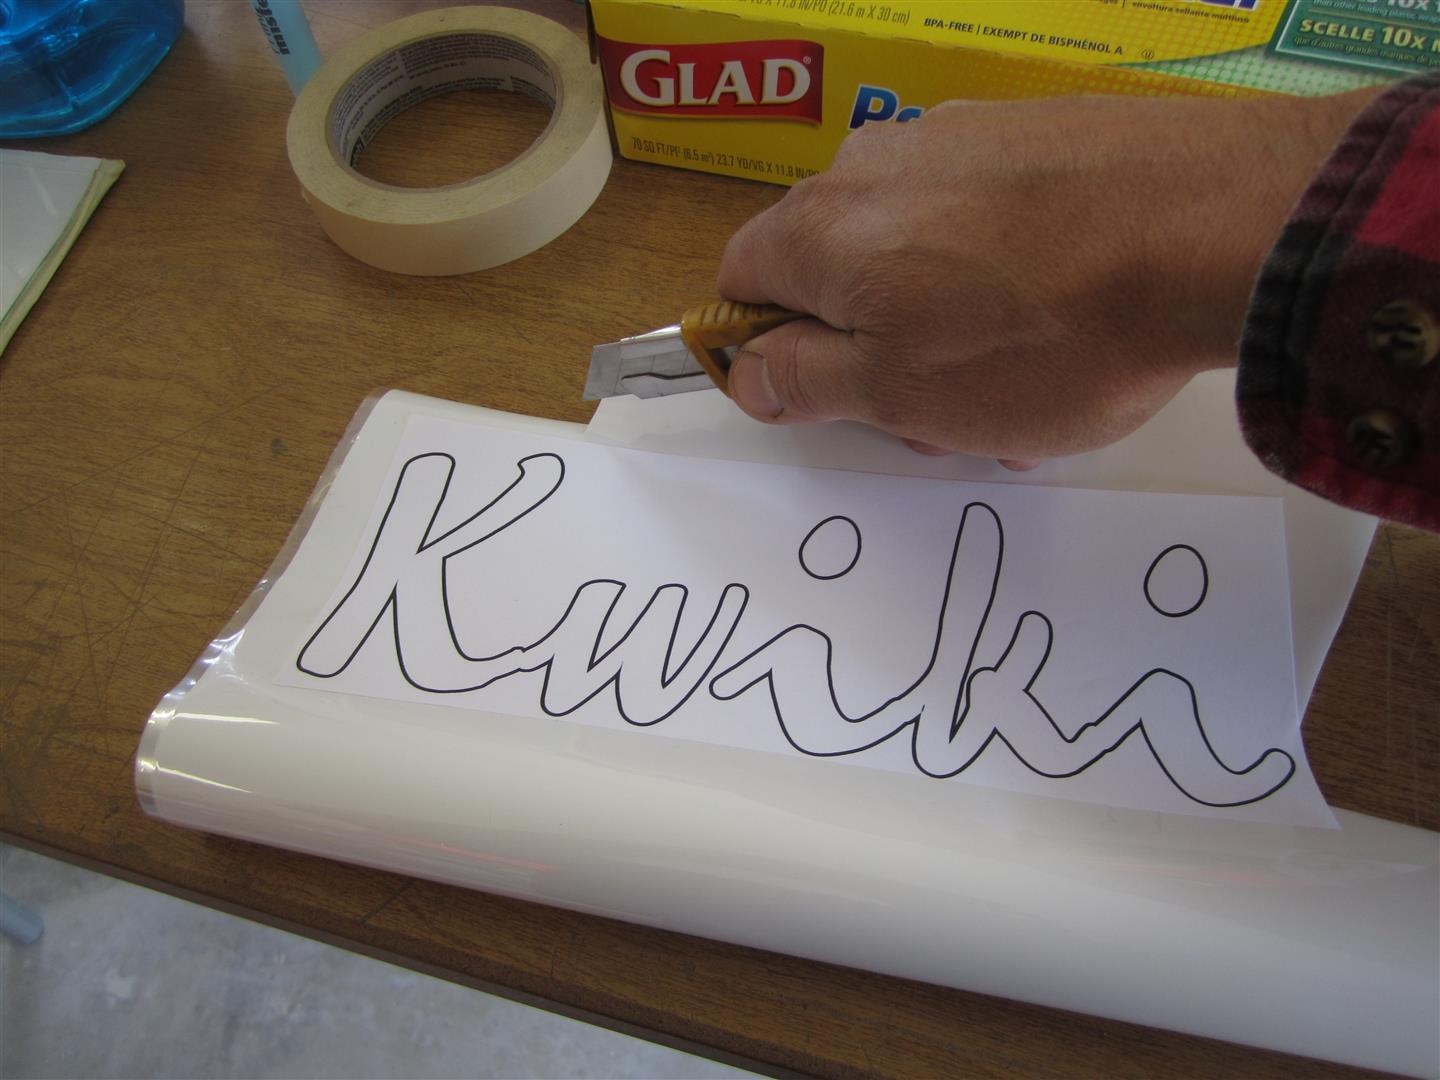
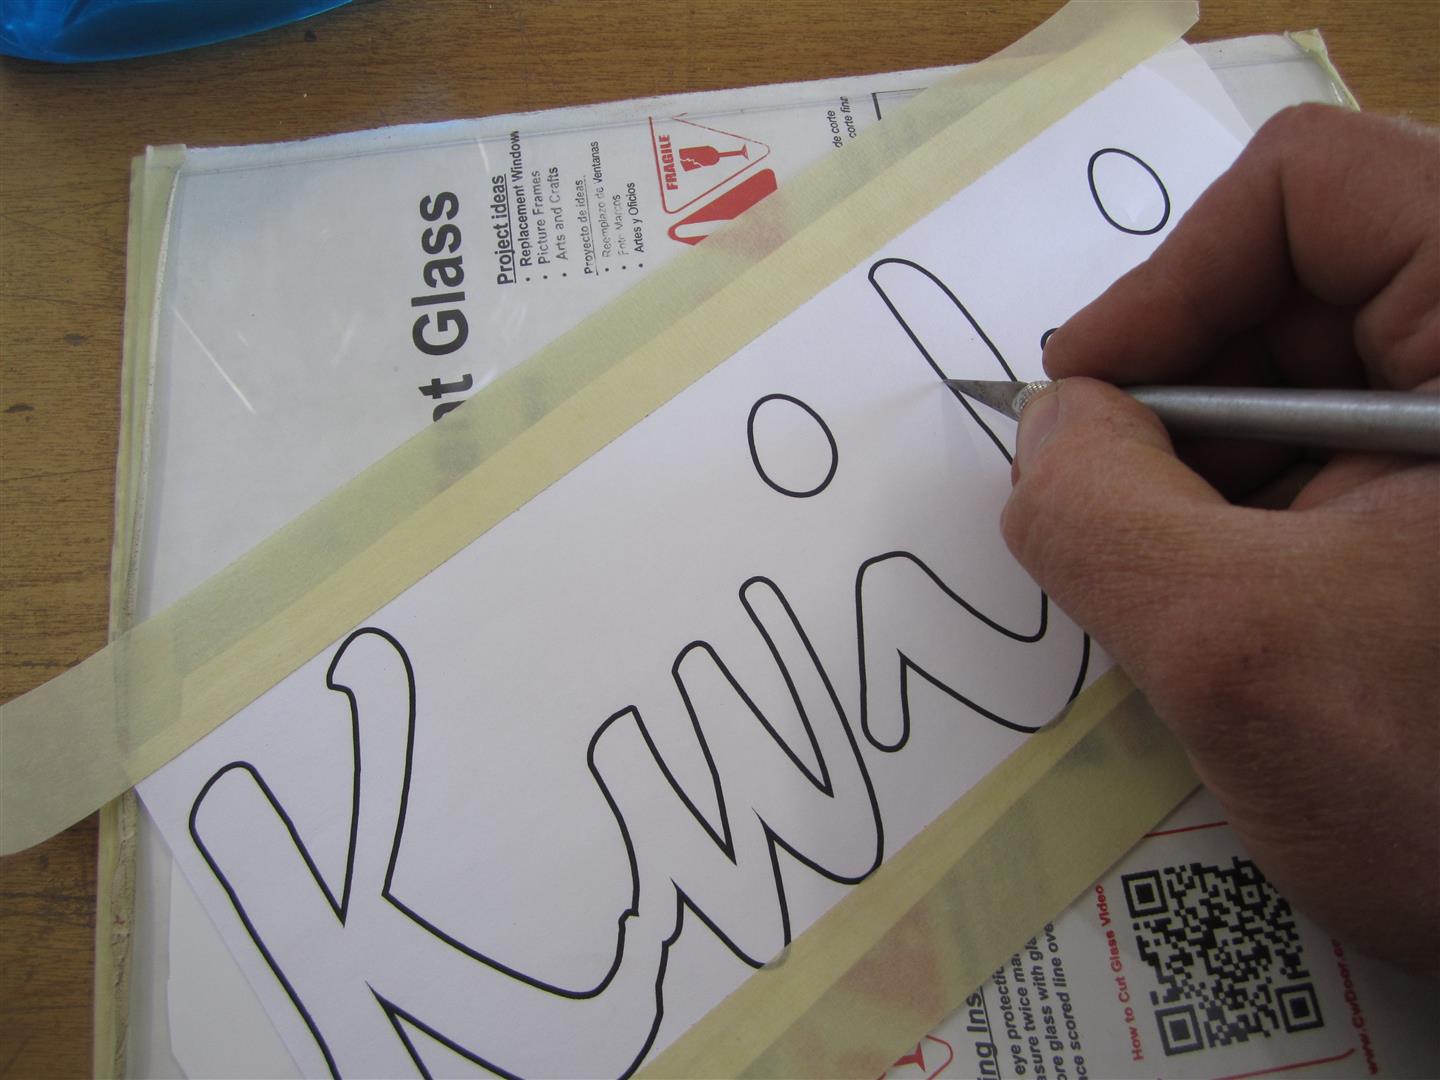
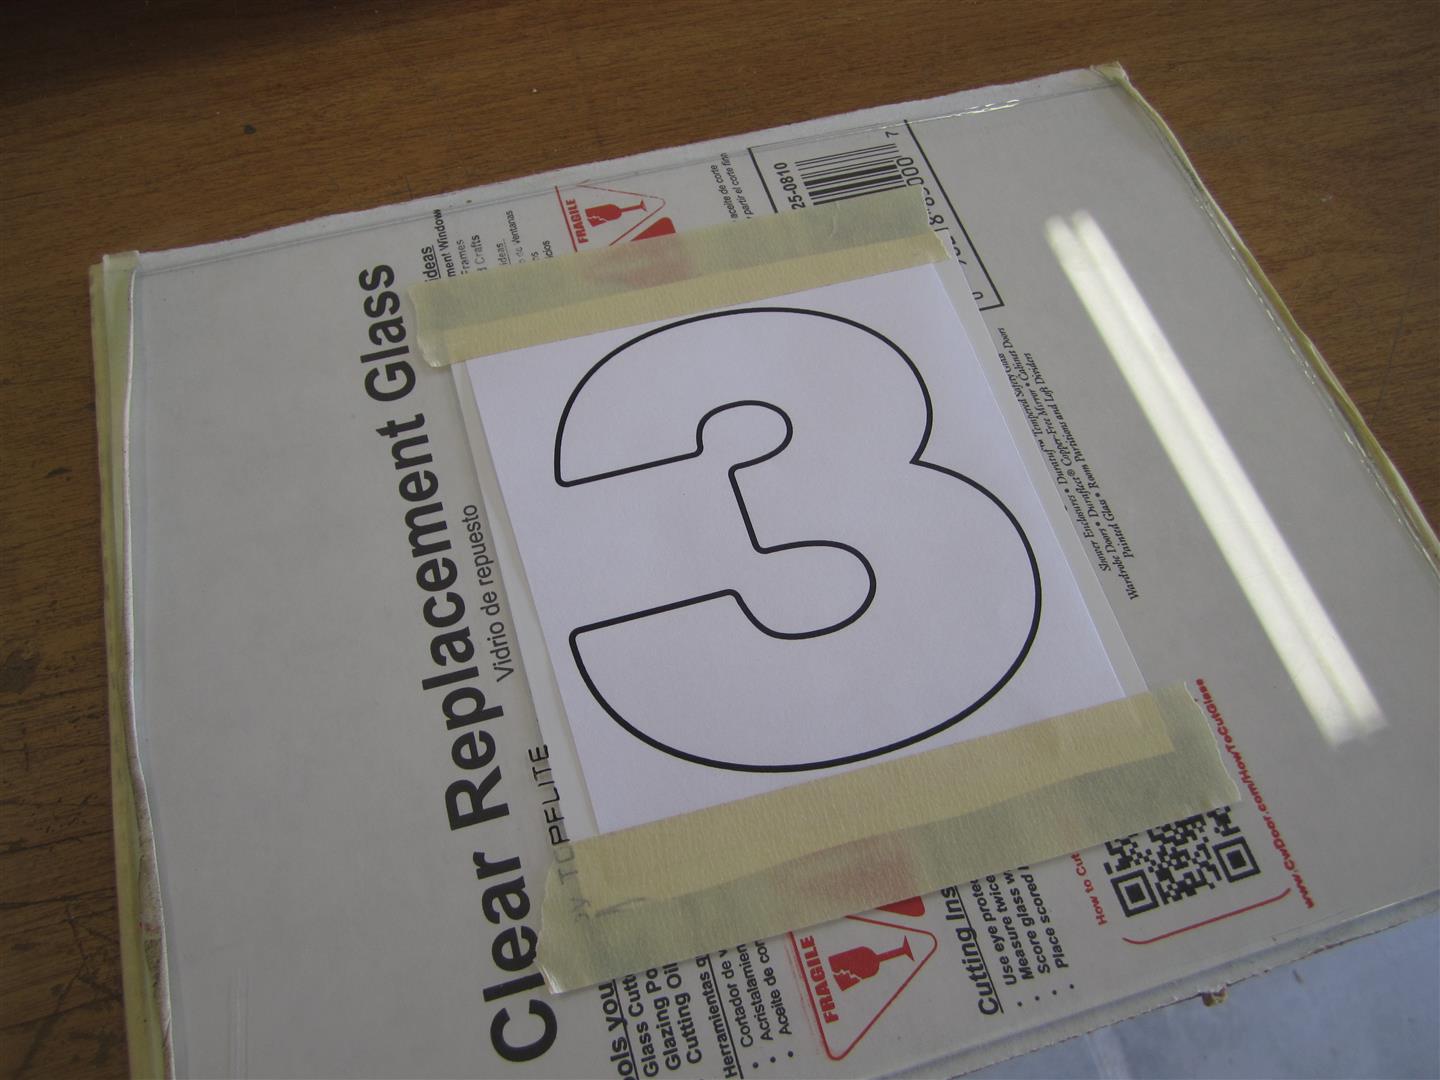
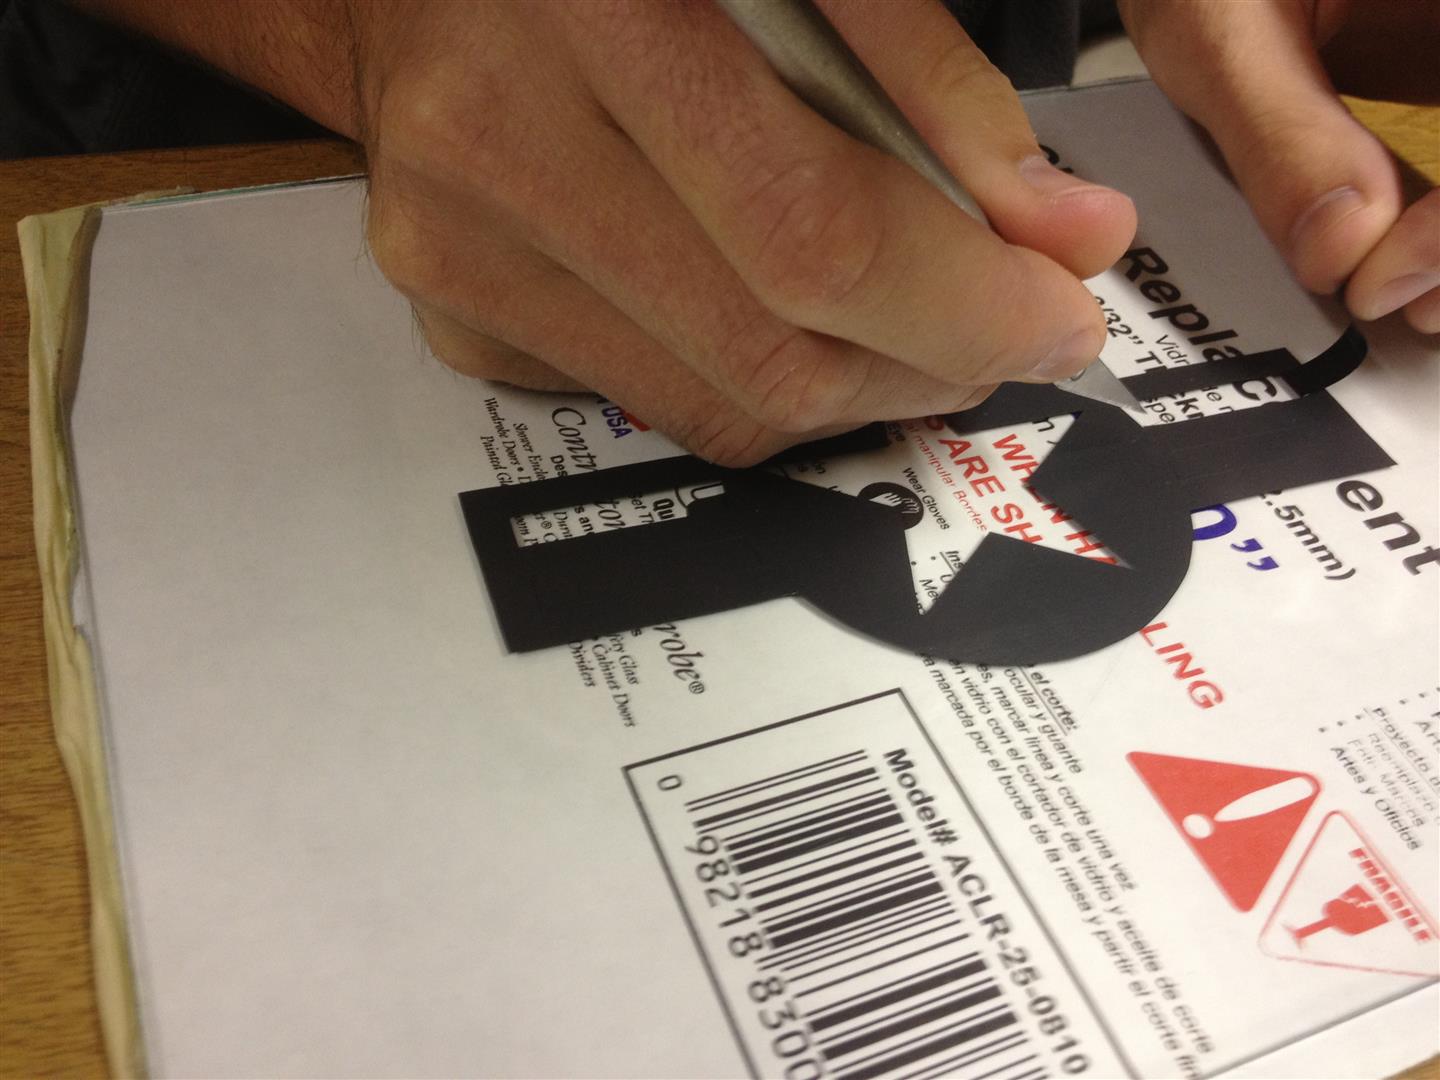
Center the paper print-out over the Monokote, and tape it down. Begin to cut each line. Make sure that your cuts are connected. A sharp blade is critical here. Plan your cuts so that important parts of the template are not removed. If the paper tries to bunch up in front of the blade, either the blade is dull or else you are holding it at too steep of an angle. Try not to lift the blade during long lines or curves. Turn the glass sheet with your other hand, and continue the cut without lifting the blade. You will get smoother lines this way. With practice and experimenting, you will come up with techniques that work for you.

Monokote Graphics (13)   Monokote Graphics (15)

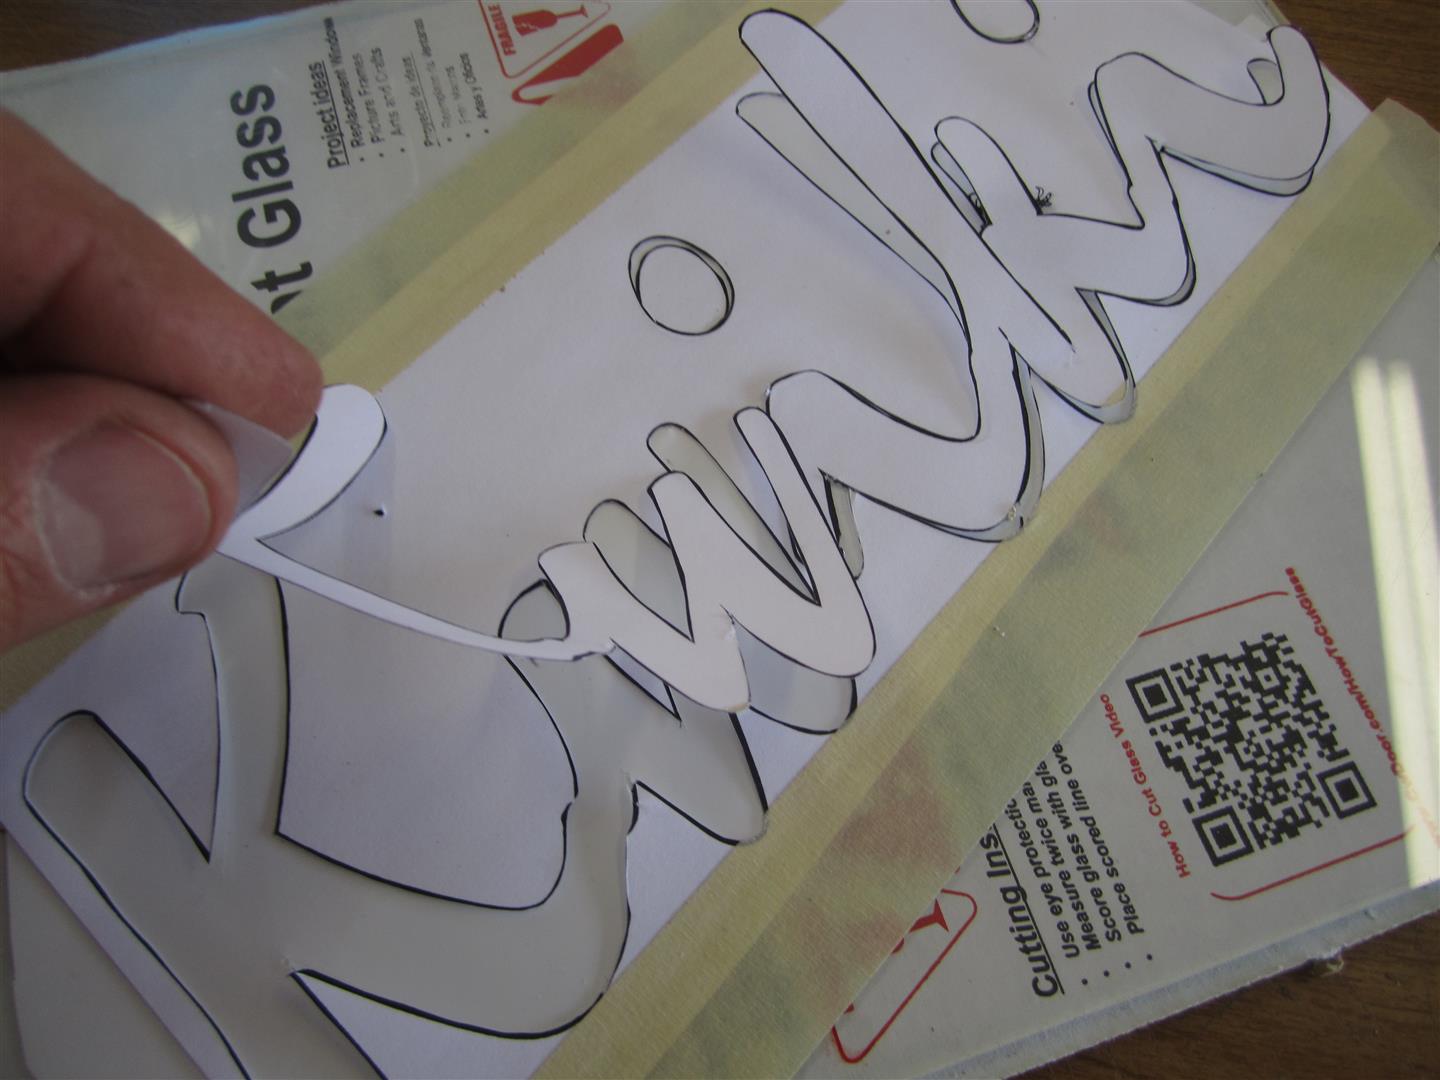
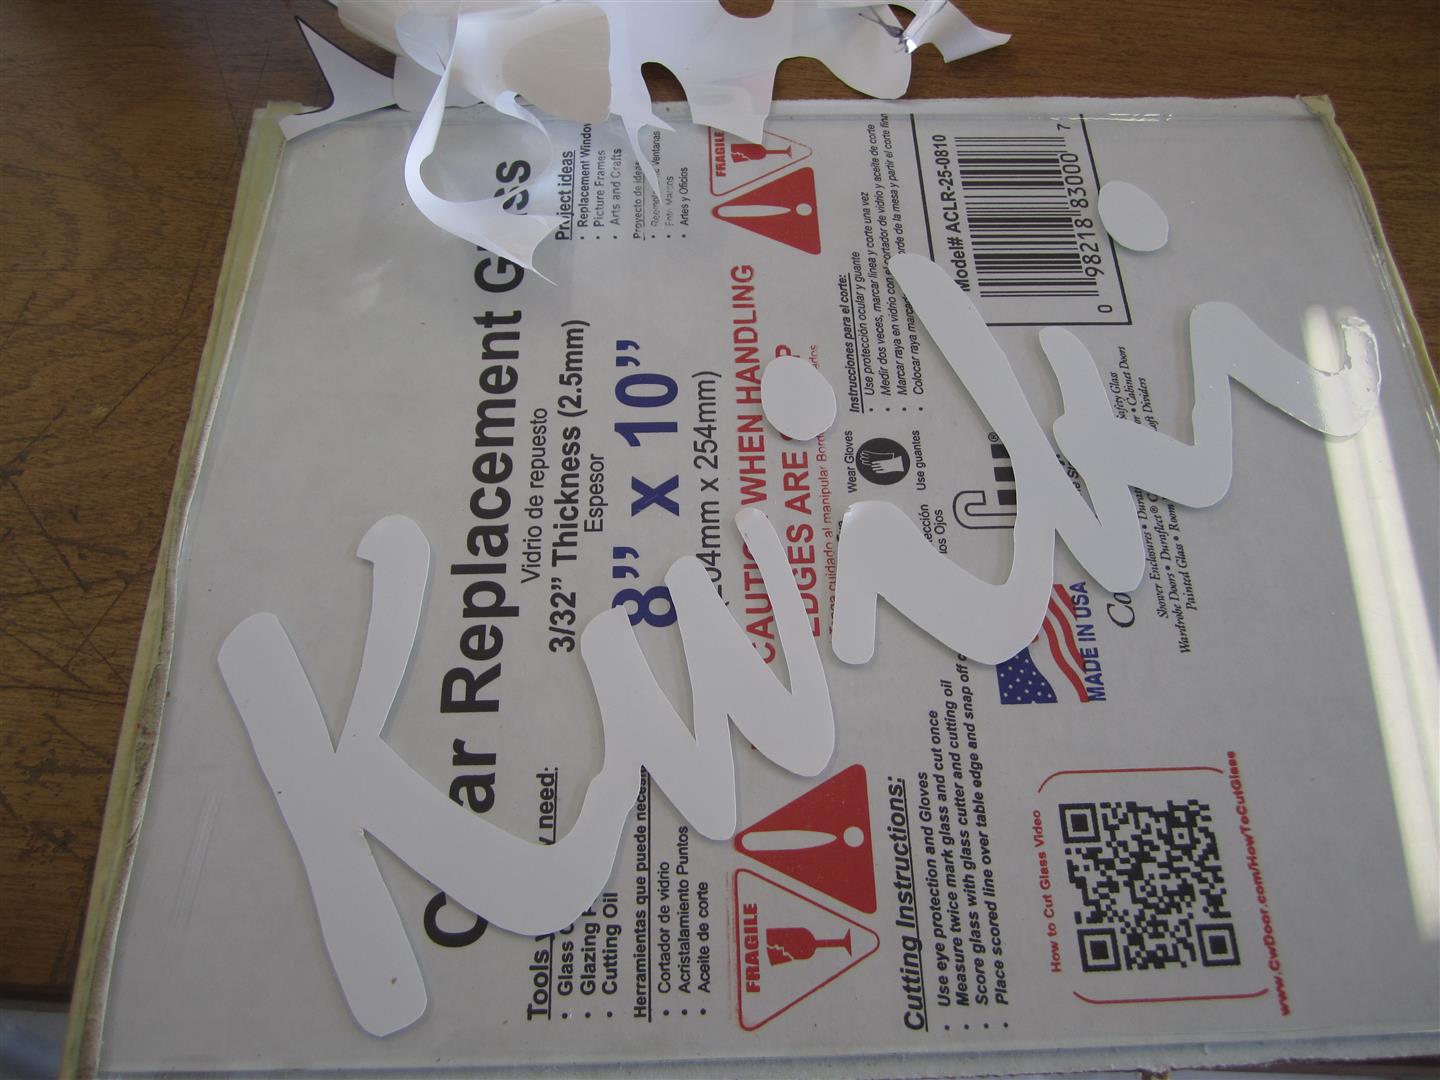
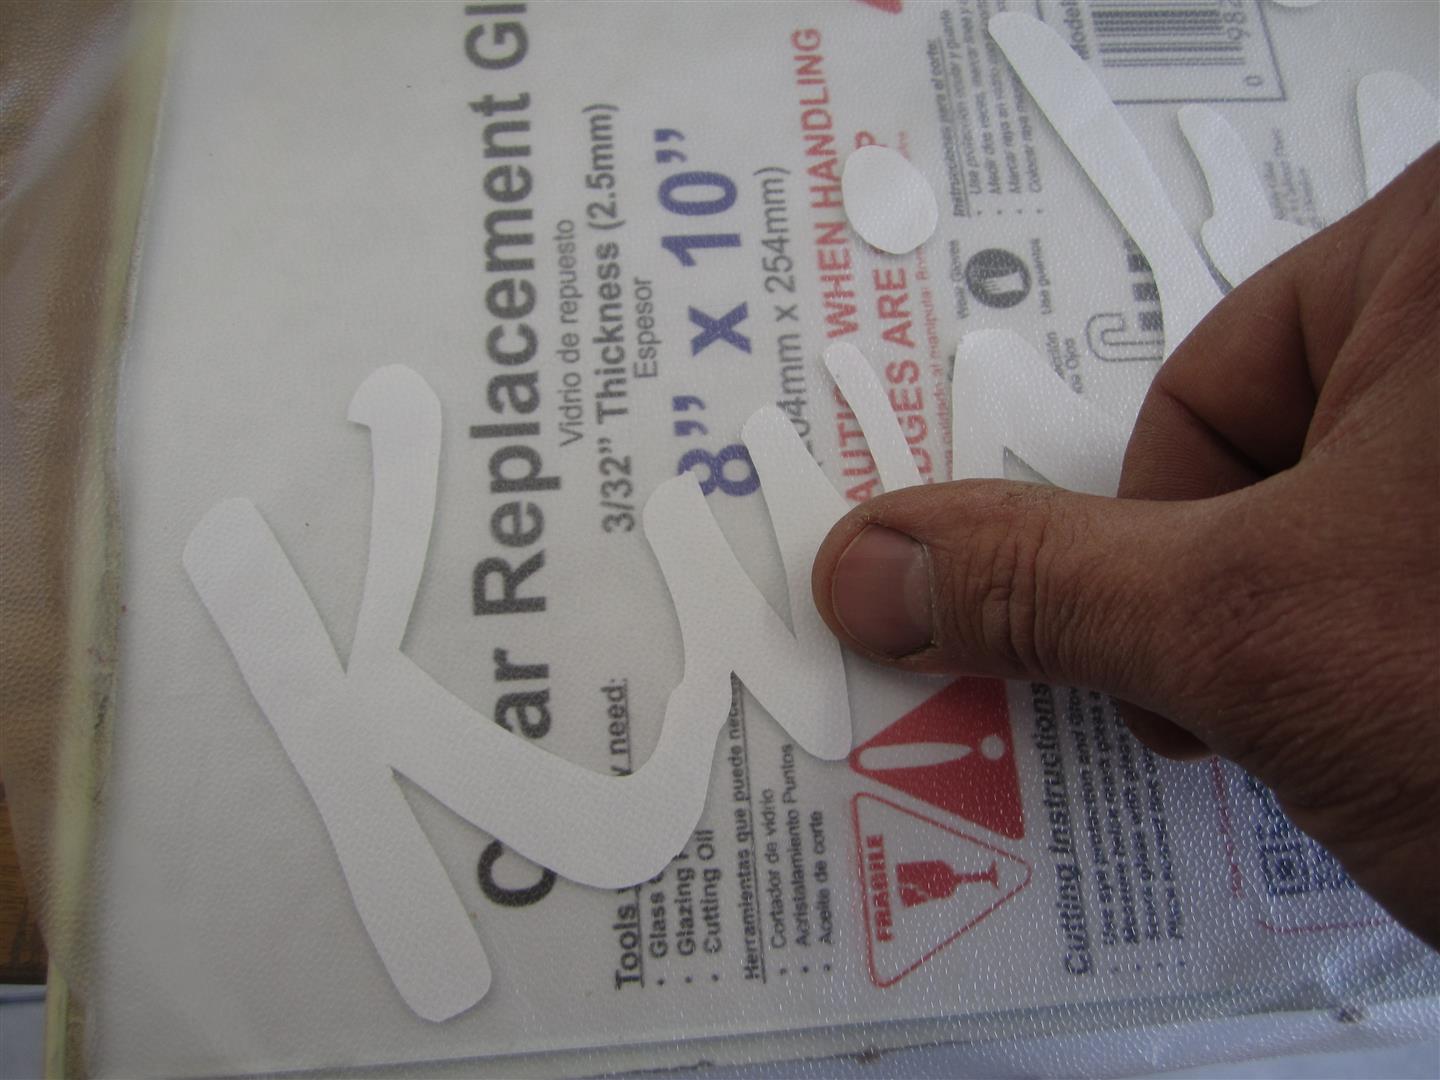
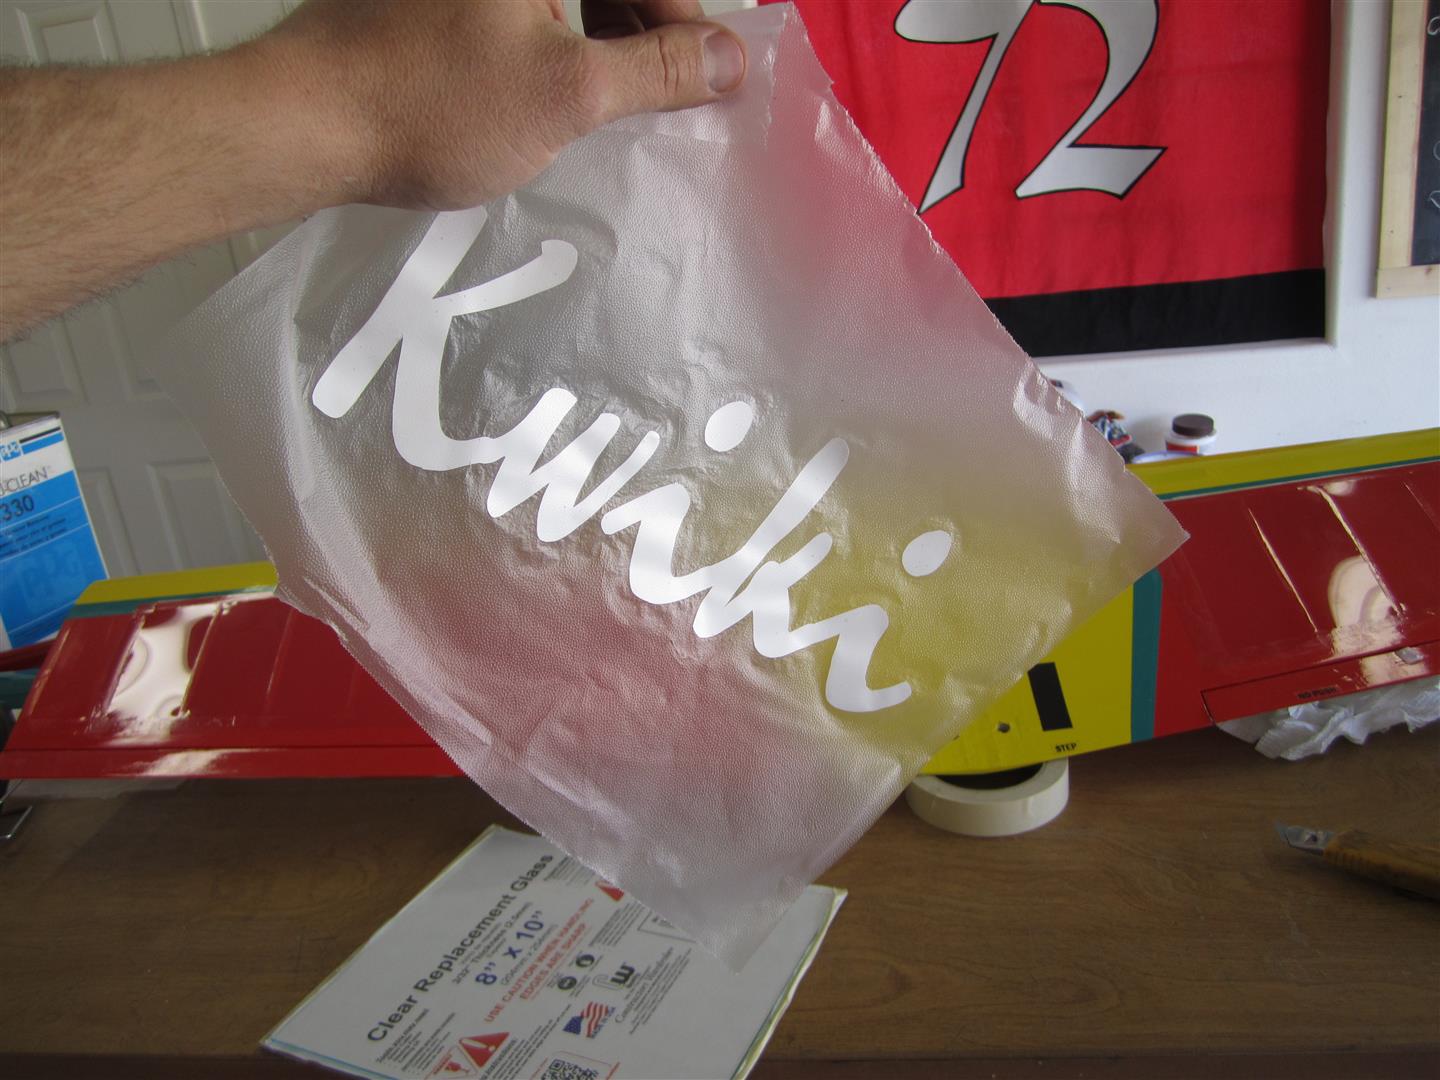
Once you are finished cutting, remove the tape and template. Then carefully remove the scrap Monokote surrounding your graphic. Be prepared to cut any little remaining sections to free the scrap without lifting the graphic. Use a little patience here. It should come out like this…

Monokote Graphics (16)   Monokote Graphics (17) Monokote Graphics (18)

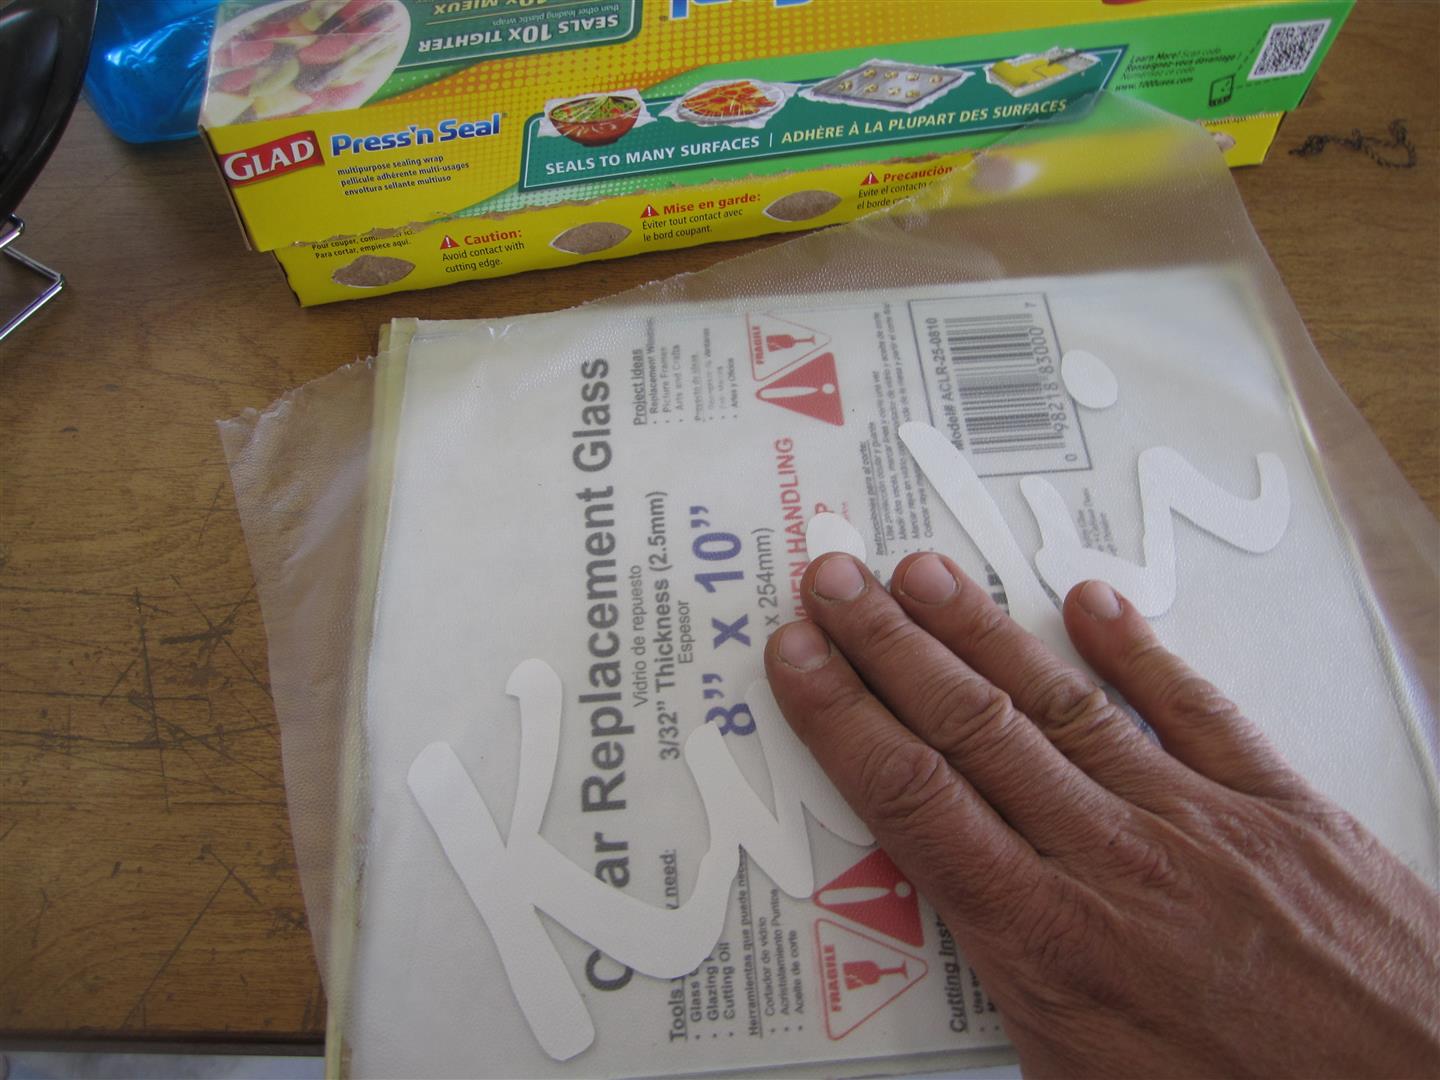
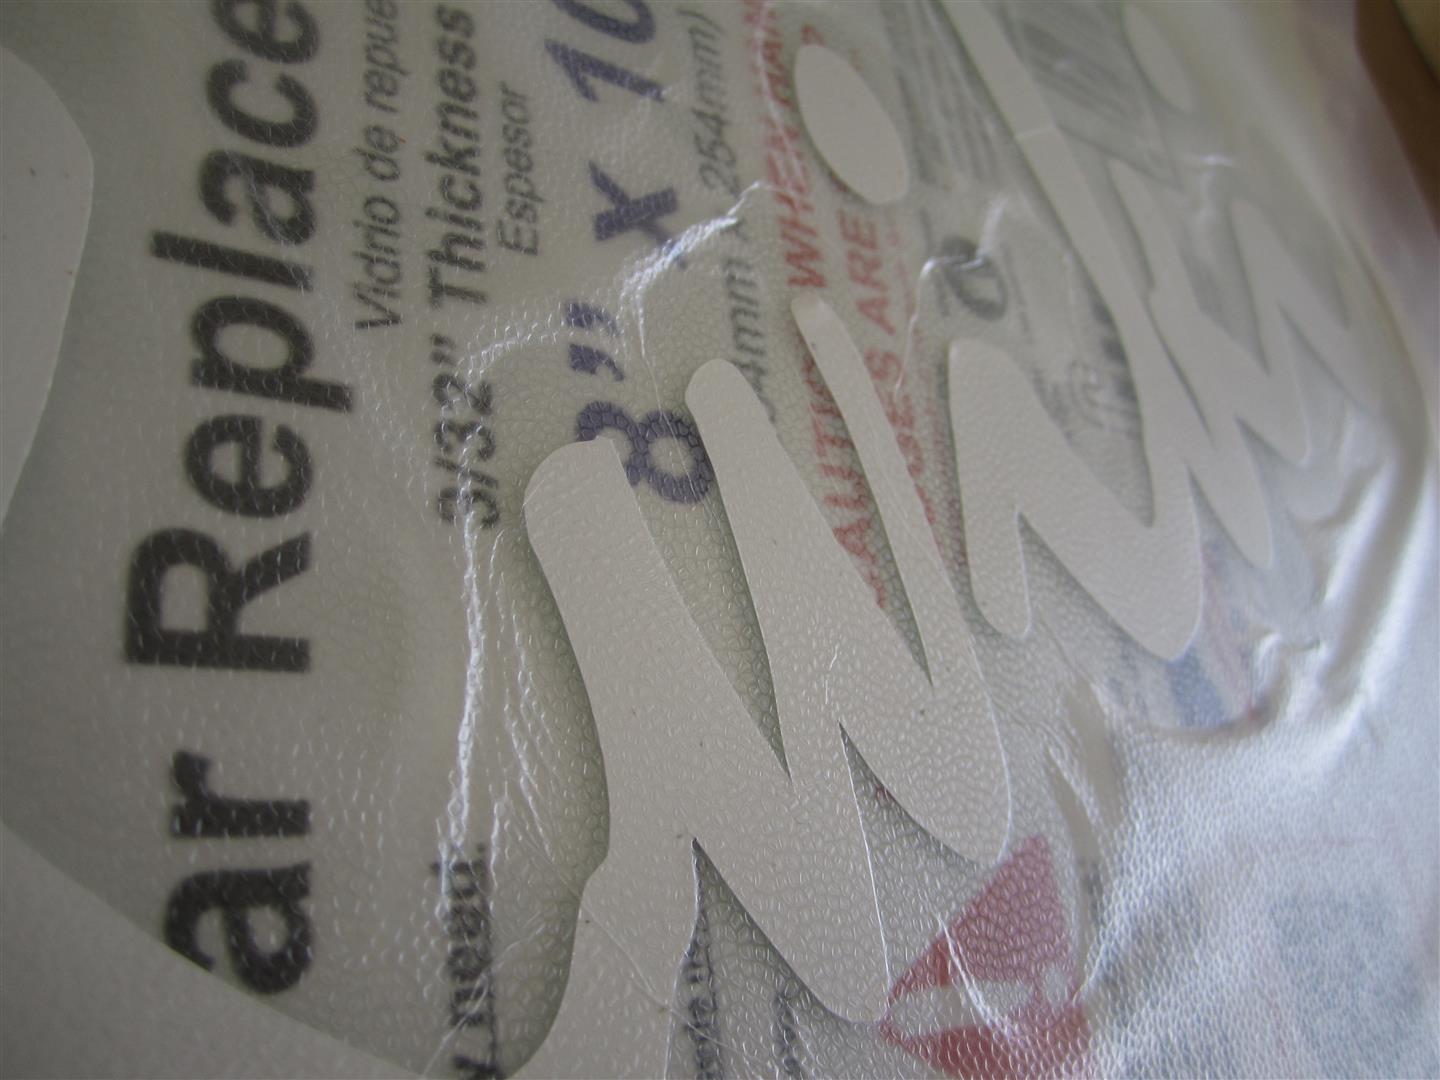
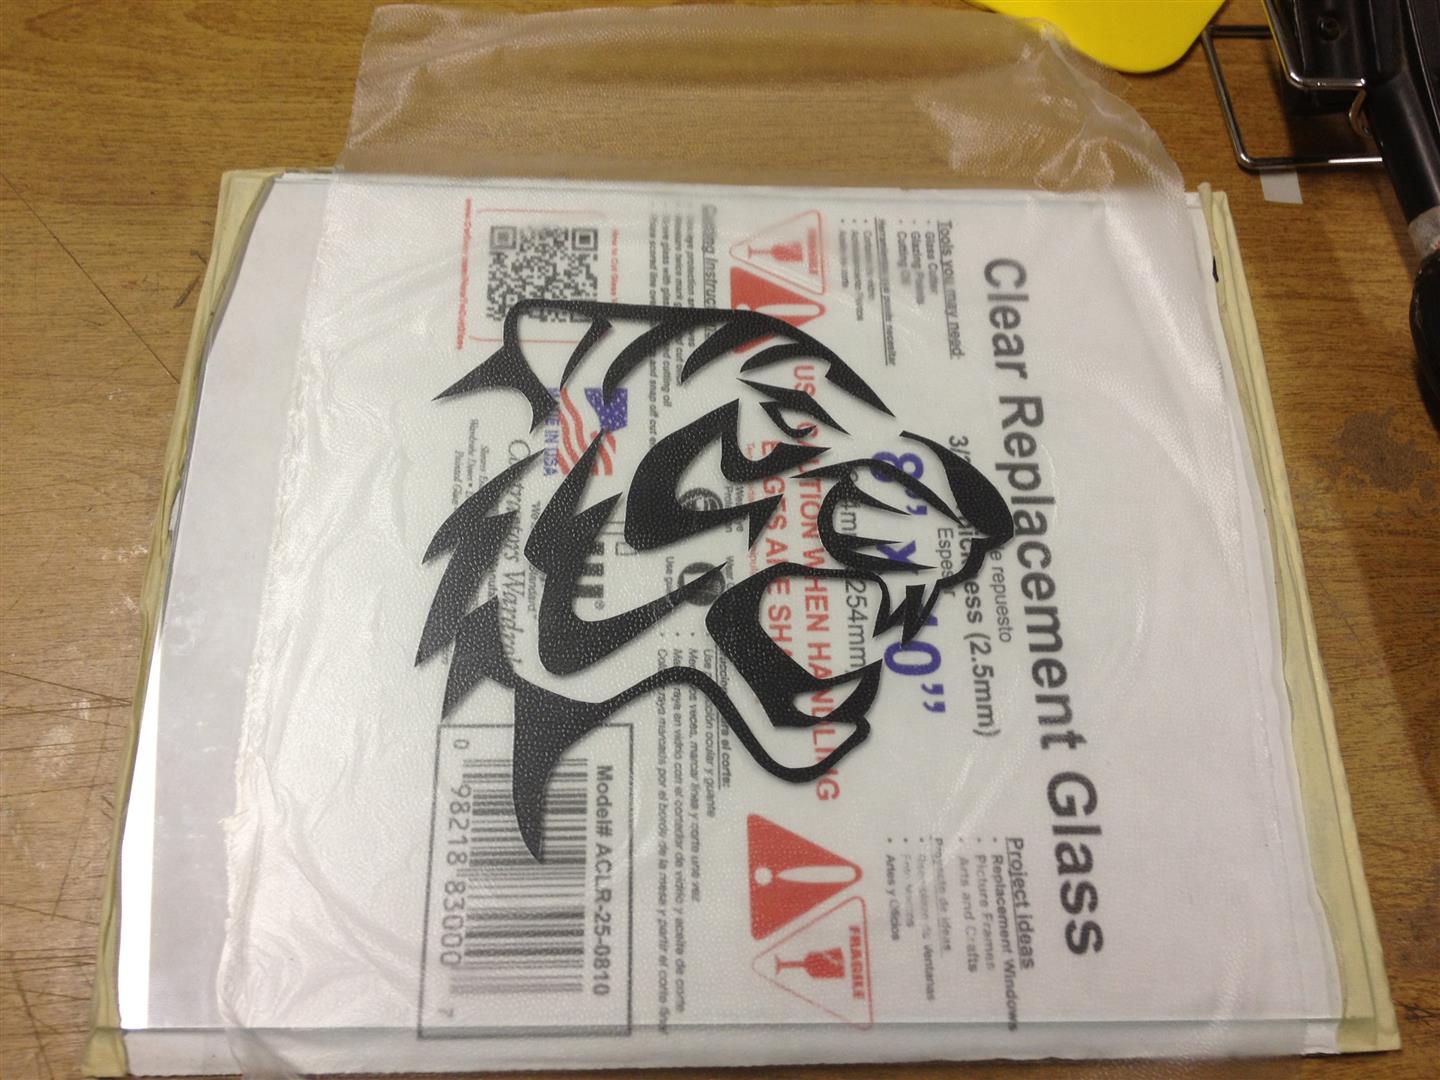
Tear off a piece of Press’n Seal larger than the graphic. Place it over the graphic, and smooth it out with your hand. Then carefully burnish it down onto each section of the graphic with a thumb or finger. This adheres it to the Monokote. You will see the texture smoothing out as you burnish it down. The idea is to get it adhered to the Monokote every where so that you can lift the whole graphic off of the glass in one sheet. This process is similar to the one used in cut vinyl graphics.

Monokote Graphics (21)   Monokote Graphics (22) Monokote Graphics (23)

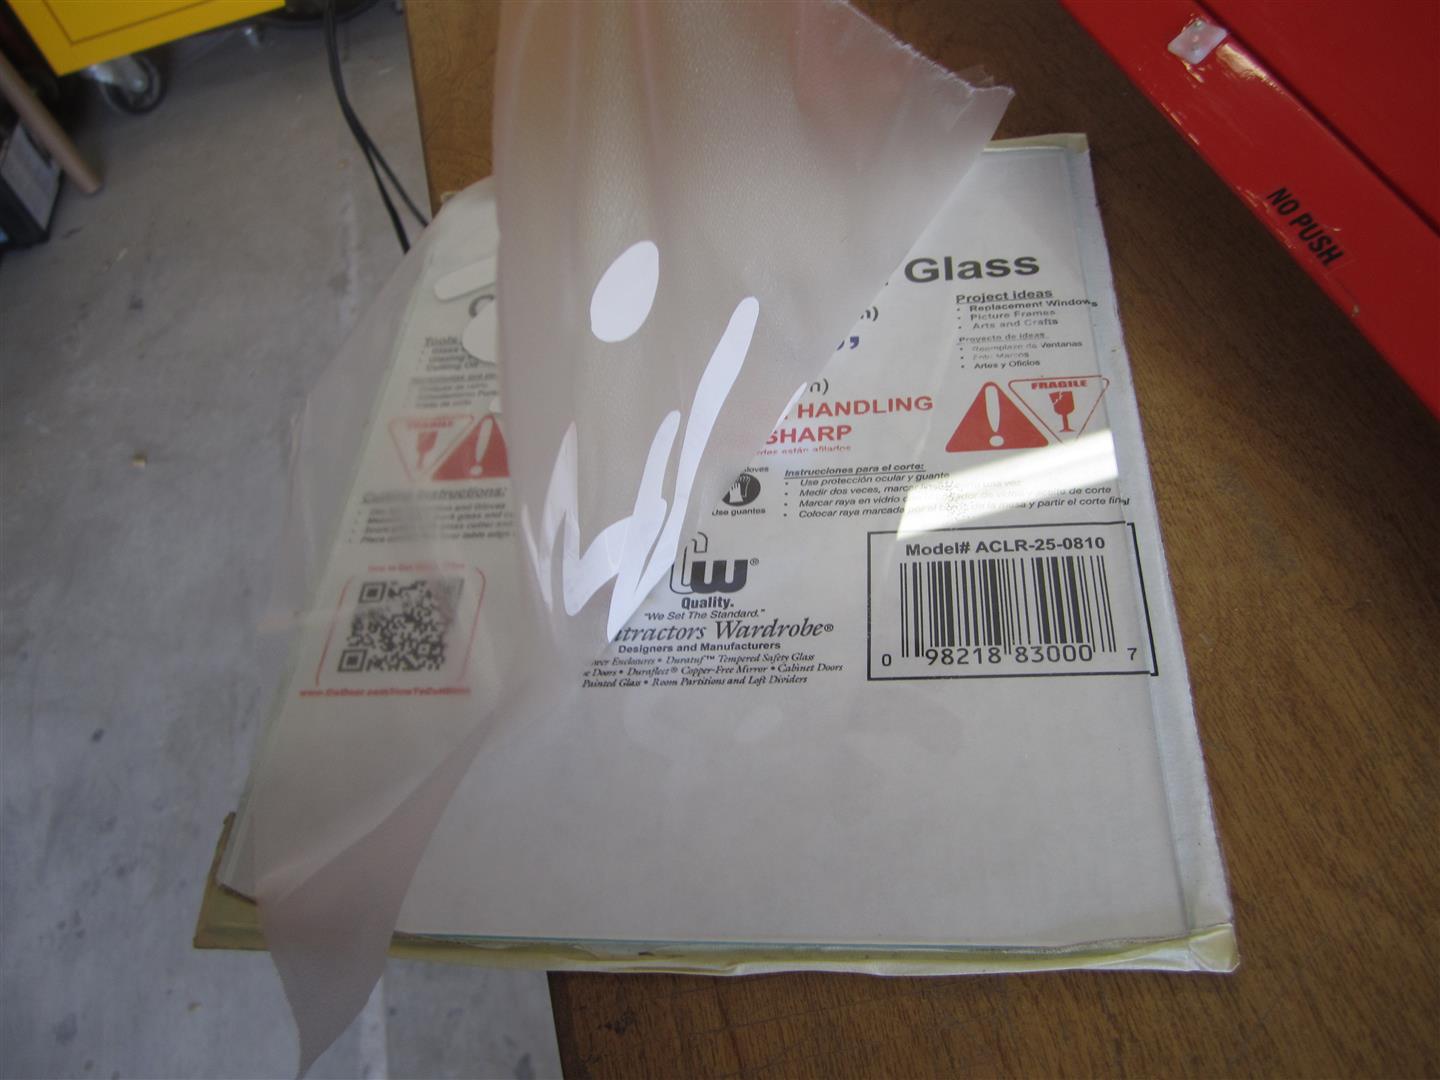
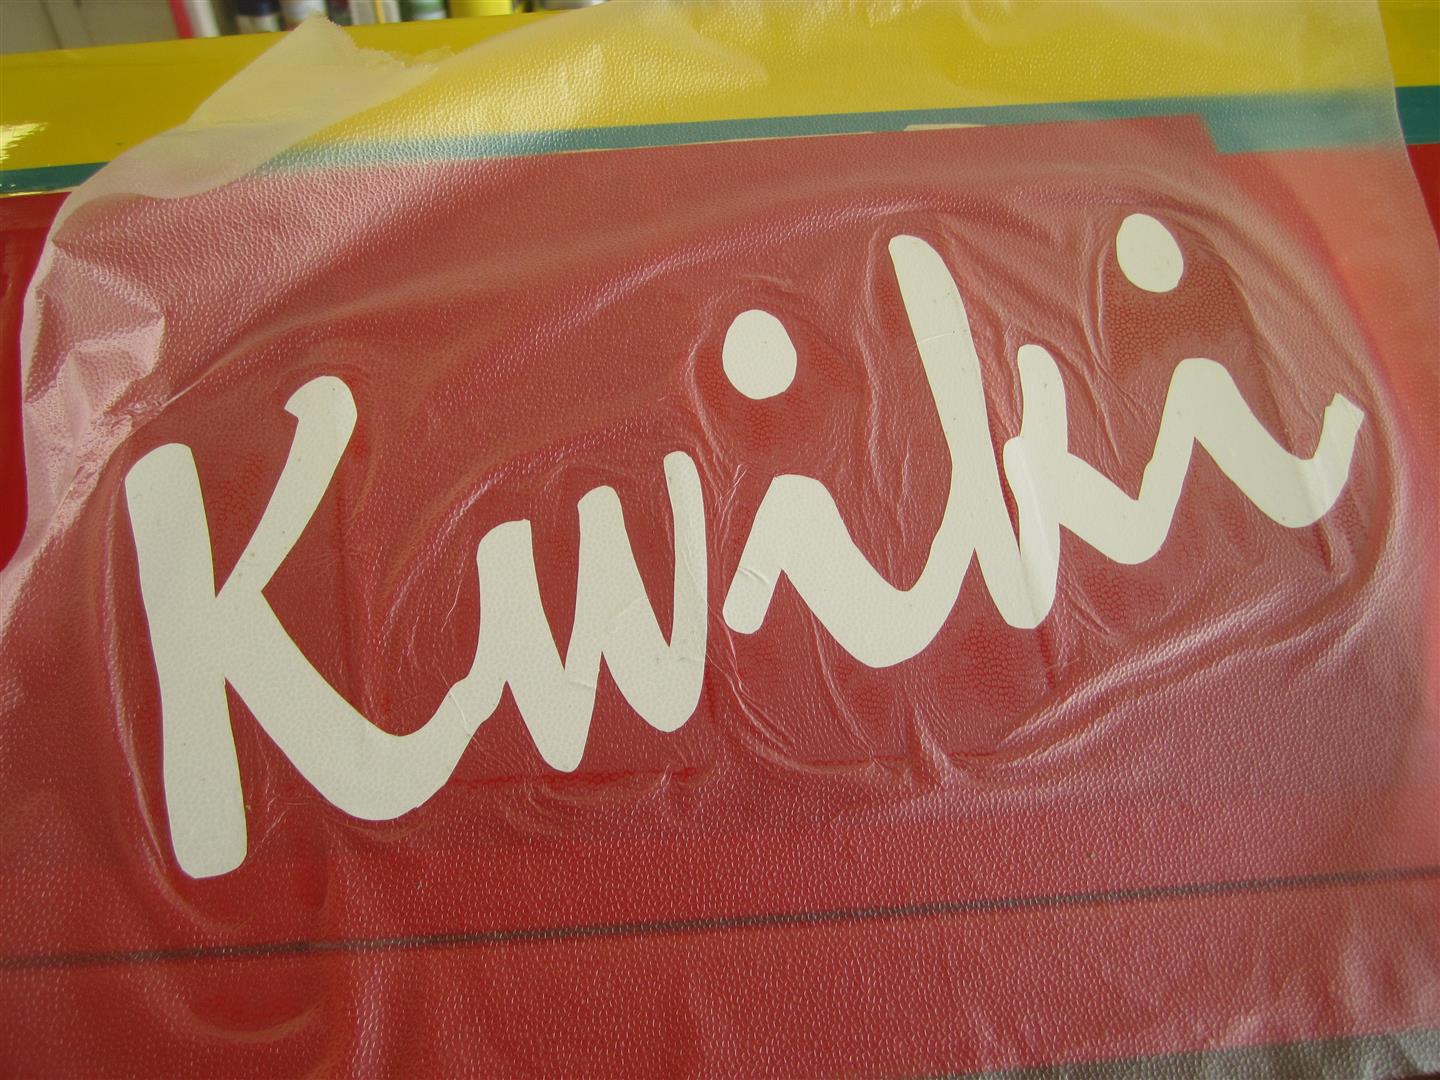
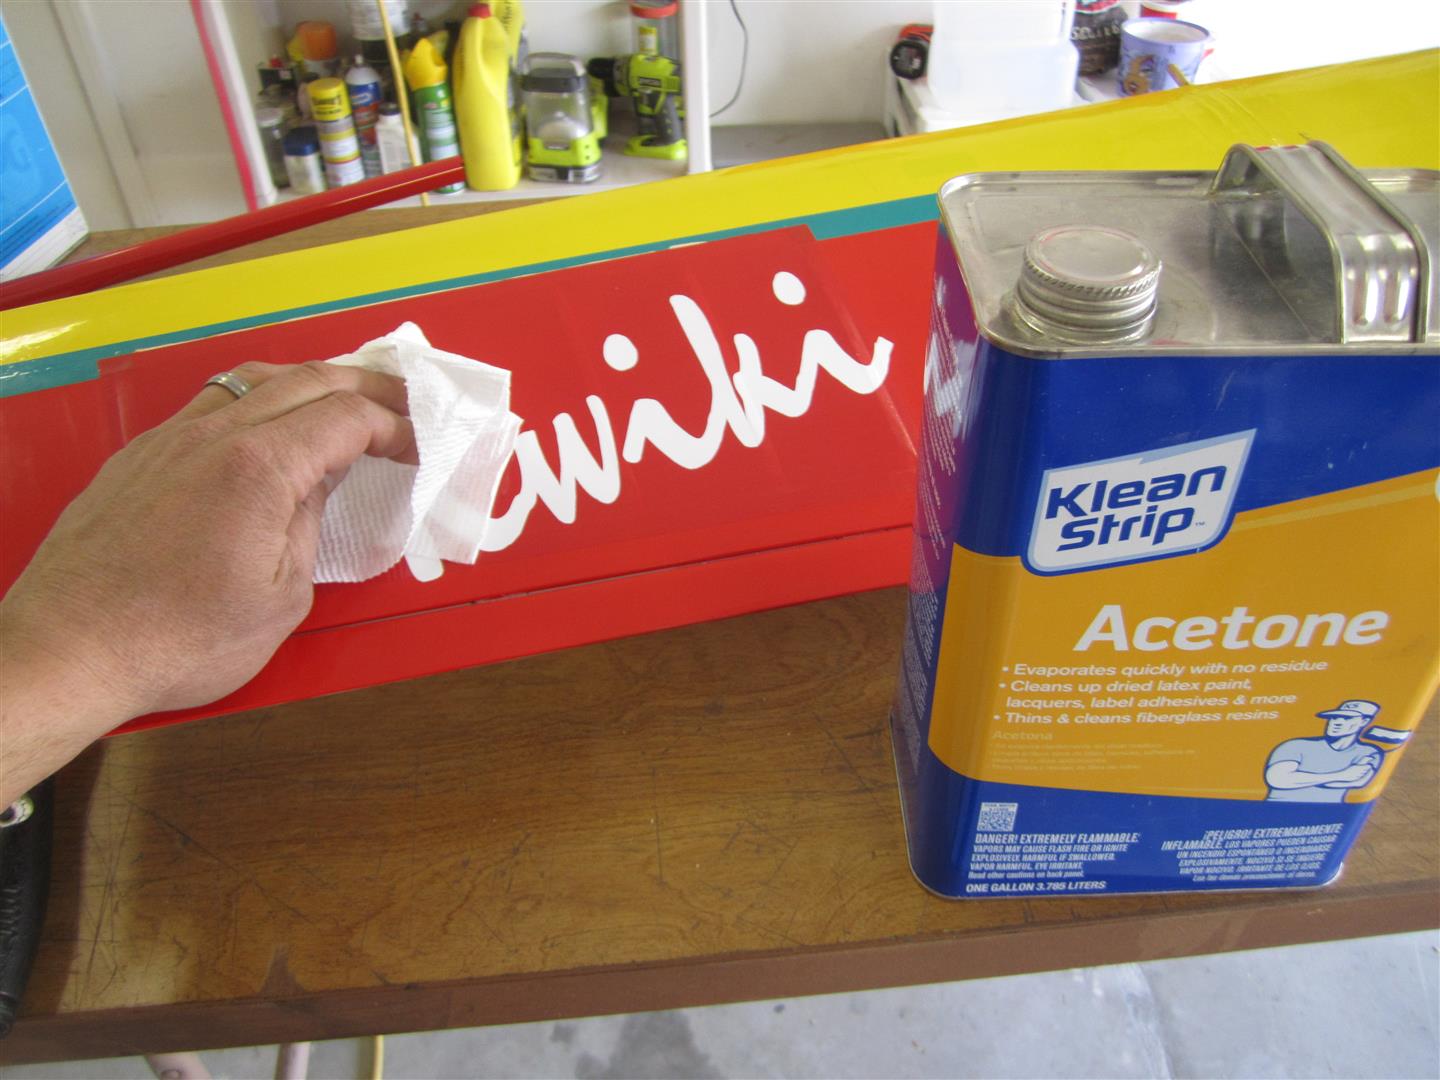
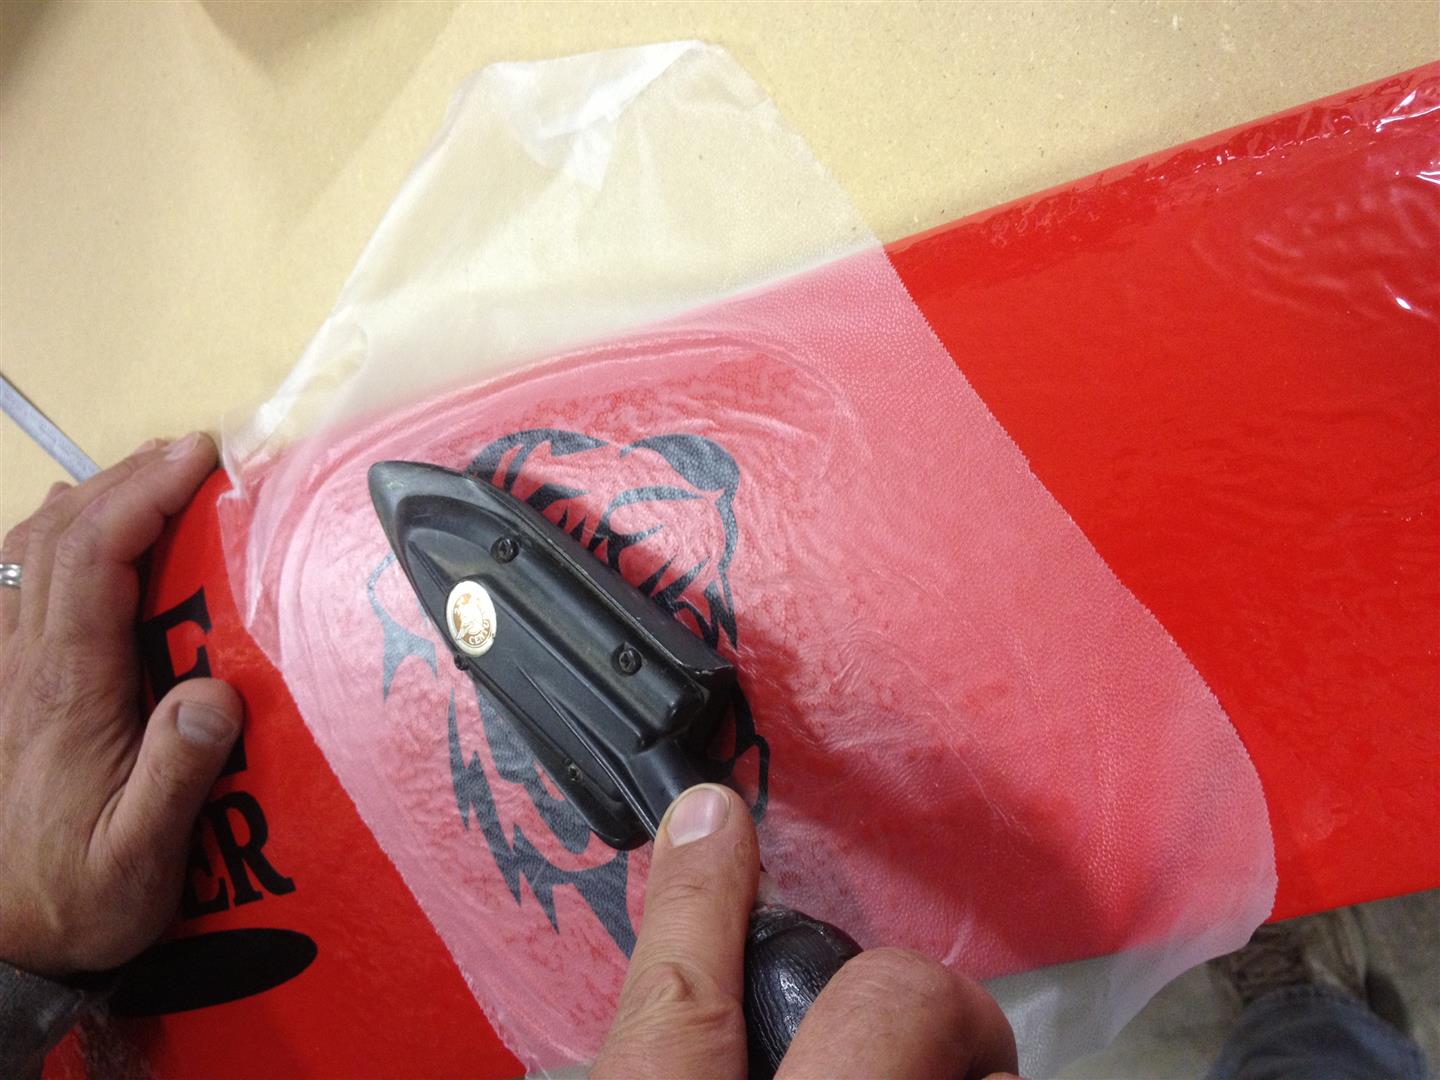
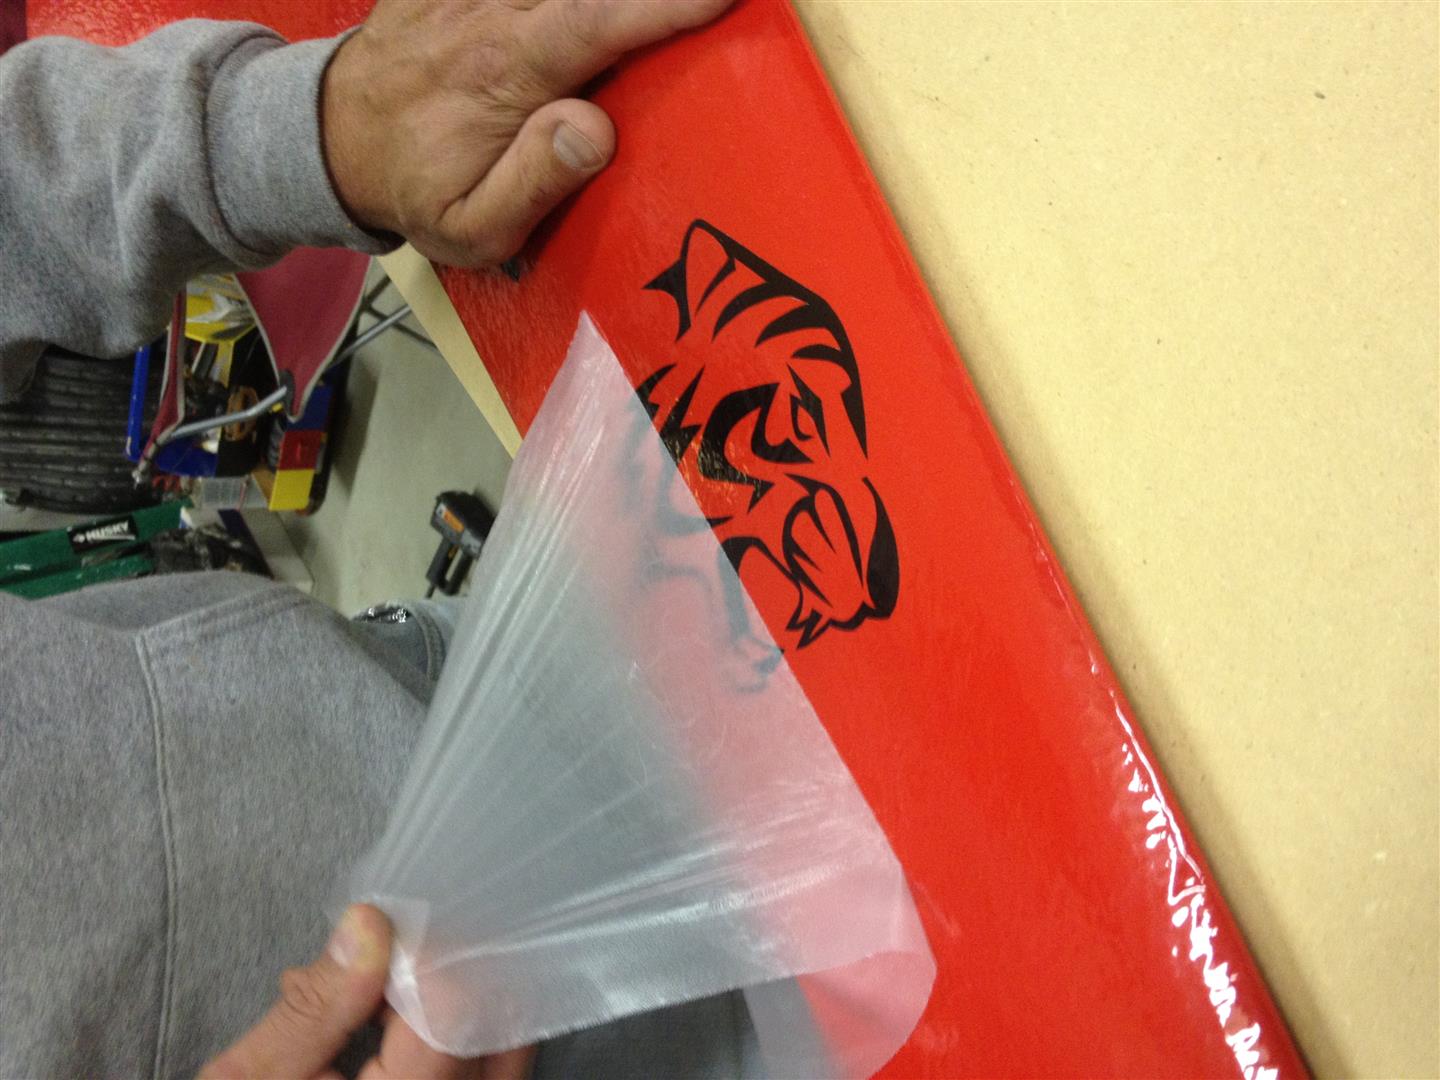
Now clean the surface of the aircraft where you intend to apply the graphic. If it is a fuel powered aircraft, I like to use acetone or some solvent that will remove all traces of oil. Carefully pull the Press’n Seal from the glass sheet, making sure that the graphic comes with it. Burnish edges as needed to get each piece of the graphic started.

Monokote Graphics (24)   Monokote Graphics (25) Monokote Graphics (26)   Monokote Graphics (27)

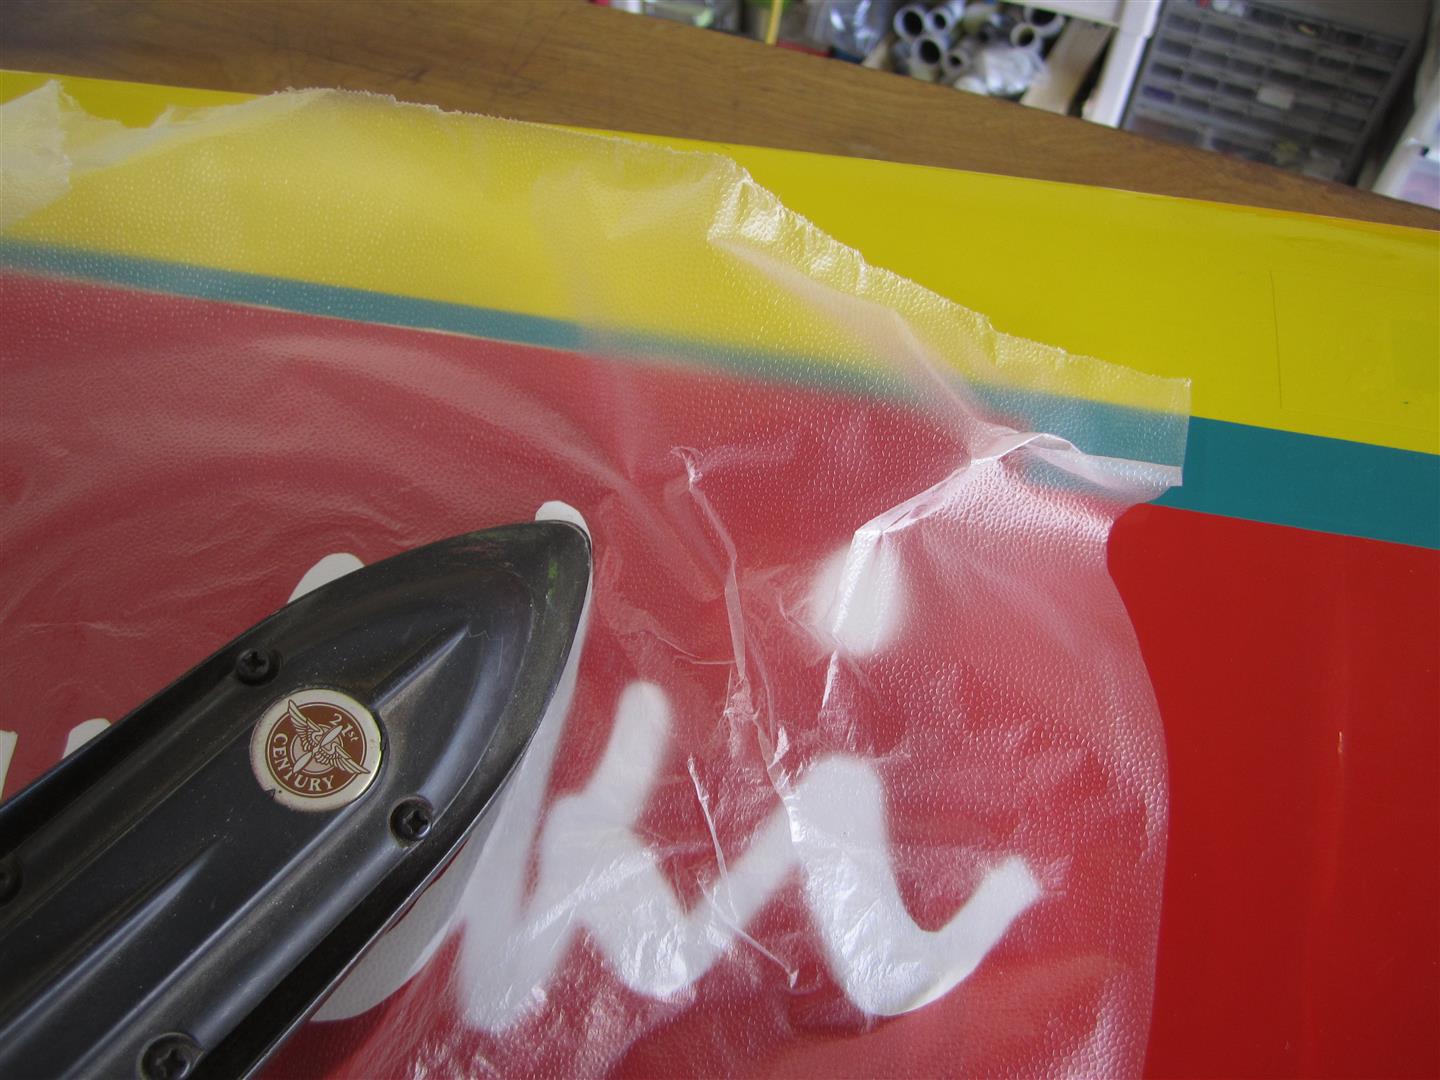
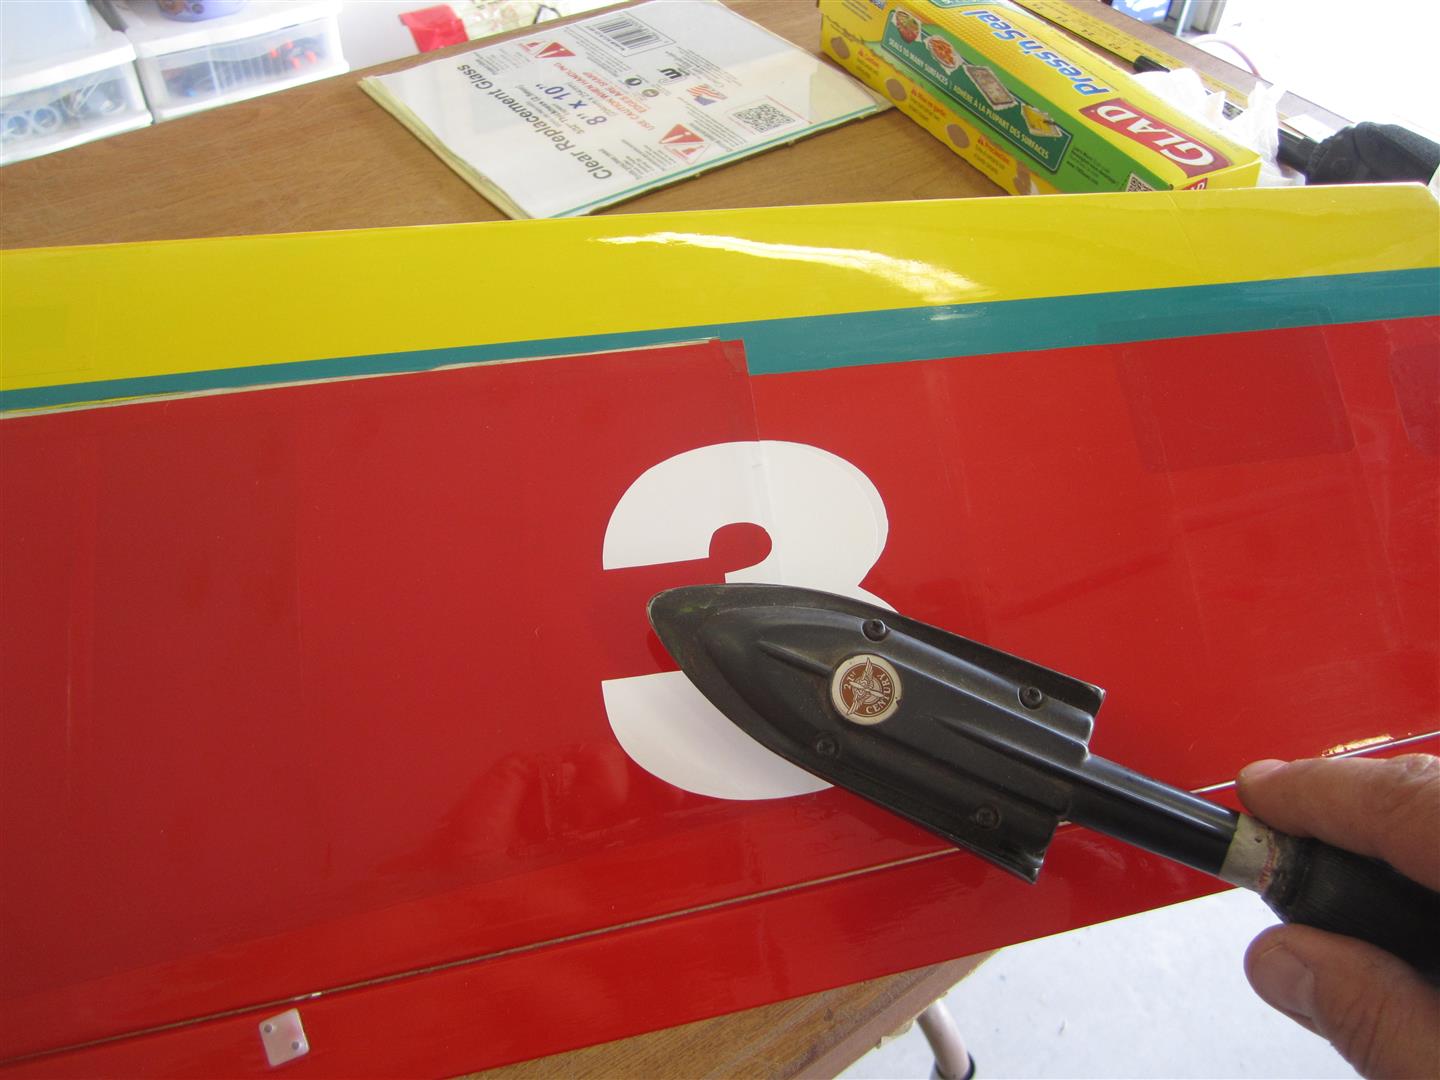
Locate the graphic on the surface it is to be applied to. Smooth it out, and make sure the alignment is where you want it. Using an iron set on low (about 200°) tack the graphic to the aircraft. Pay attention to the edges; you need them to be adhered enough that you can pull off the Press’n Seal, but you don’t want to get the Press’n Seal too hot.

Monokote Graphics (29)   Monokote Graphics (28)

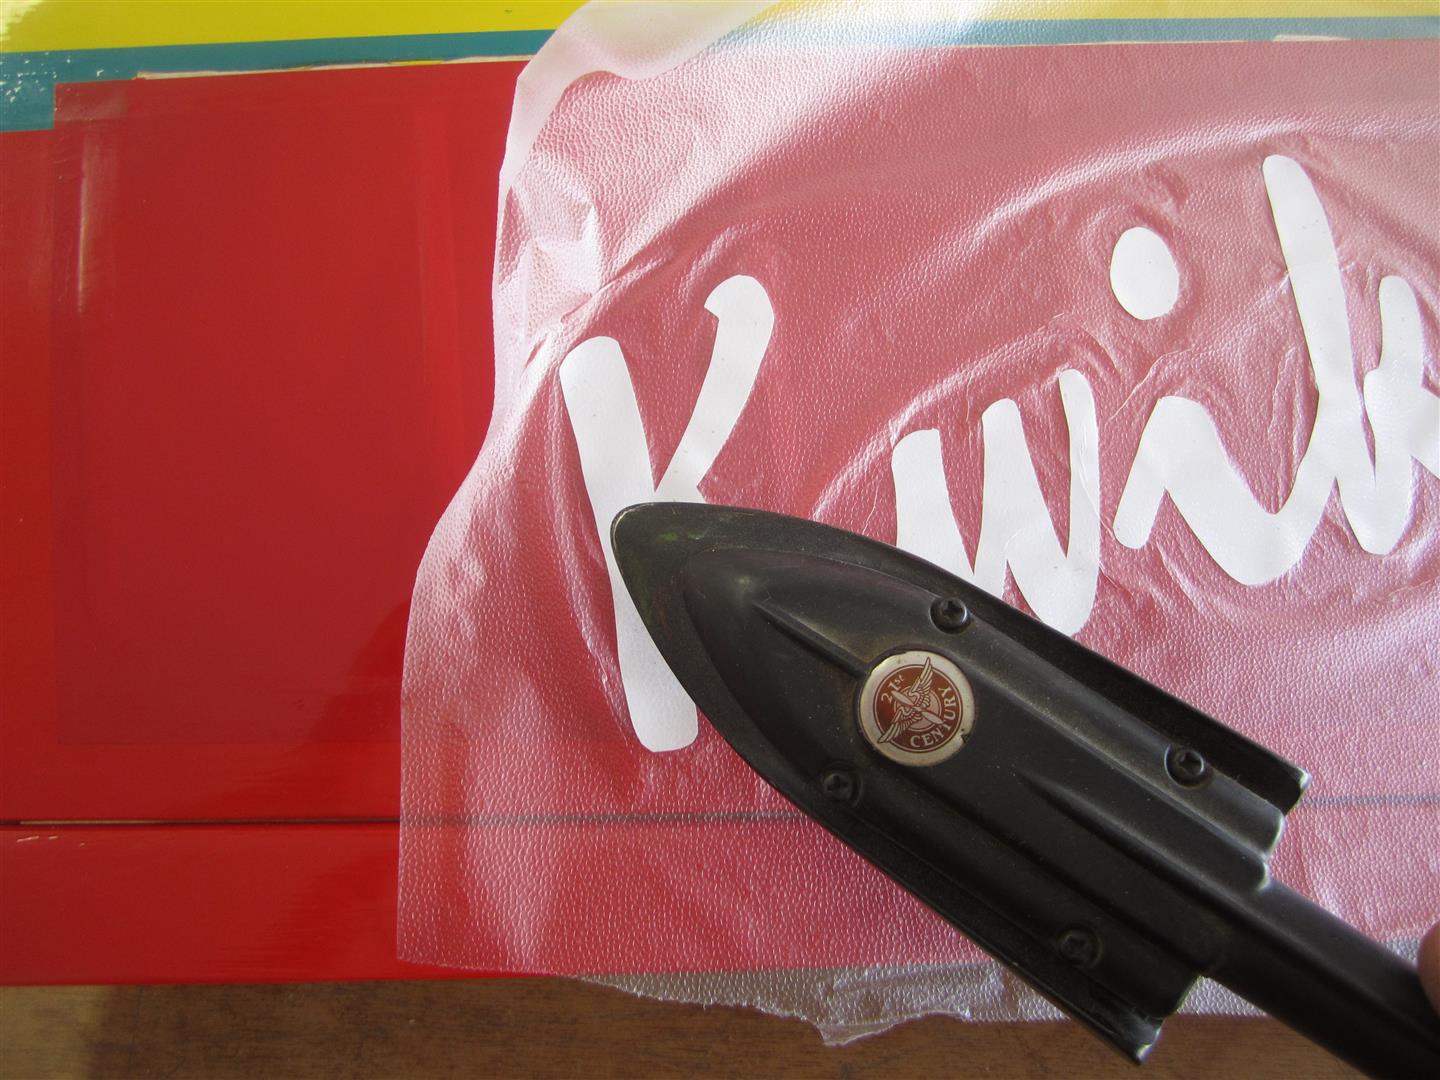
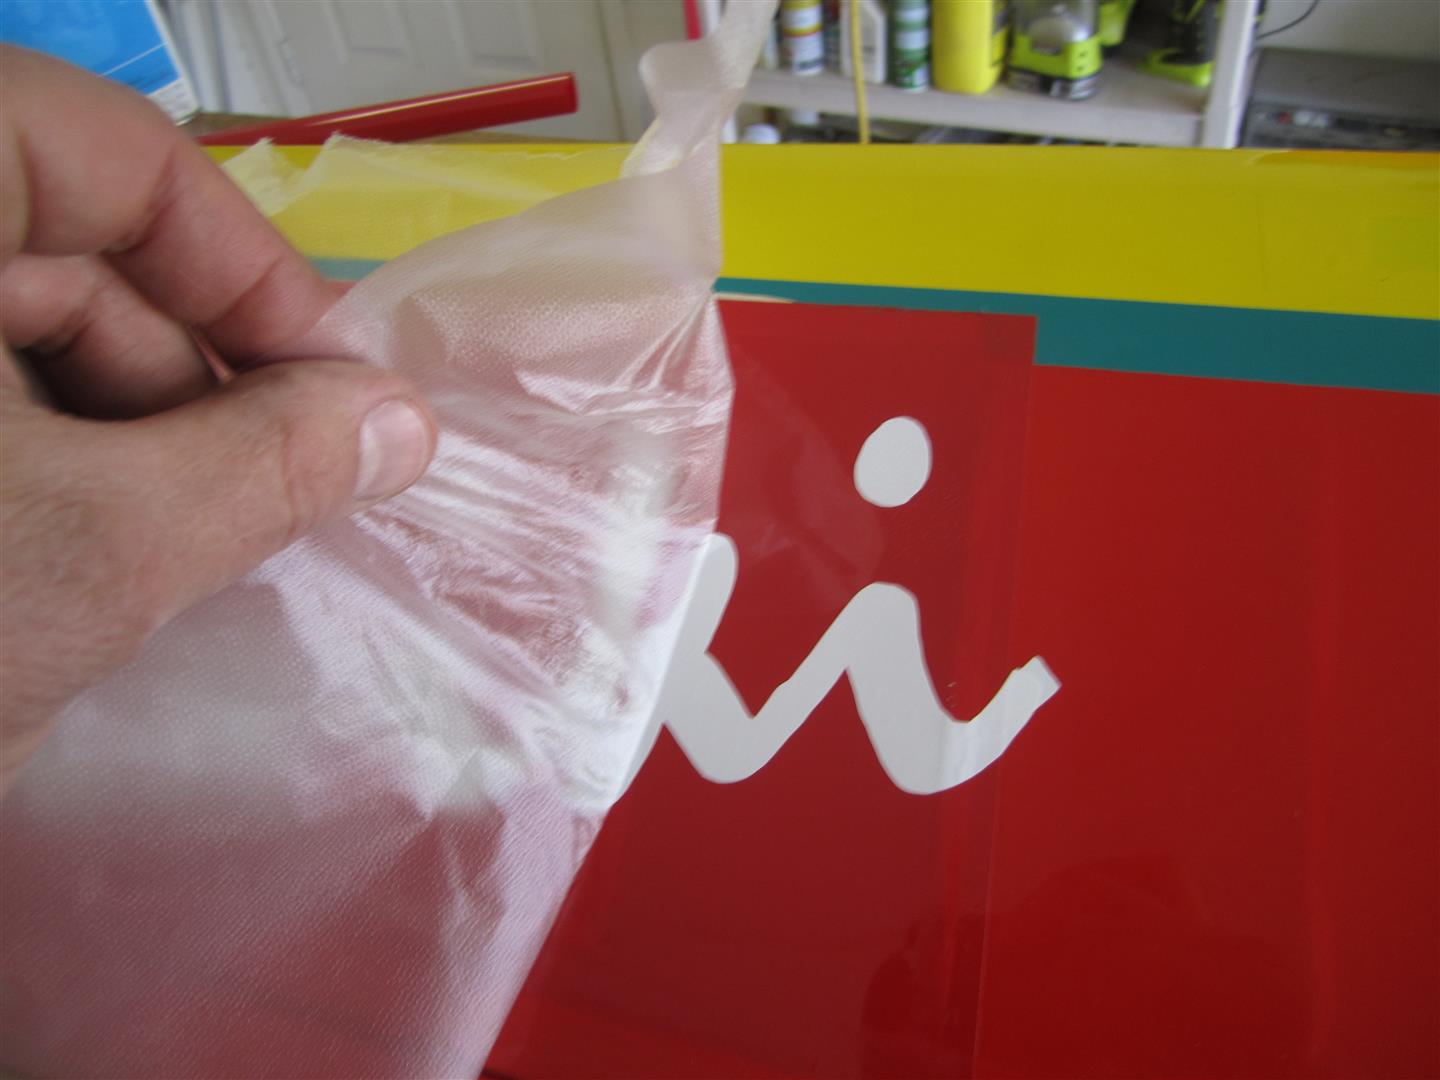
When you have it all tacked down, slowly pull off the Press’n Seal. Use the iron to tack down any edges that still try to come up. Take your time. Once the Press’n Seal is removed, go over the graphic again with the iron set a little warmer (perhaps 250°). You will notice some gummy residue from the Press’n Seal adhesive. Clean this off now with acetone or other solvent. Also clean the shoe on the iron. Then seal the graphic down with a hot iron (300° – 325°). Again, pay attention to the edges, especially if it is a fueled airplane. Small wrinkles should shrink out at this time.
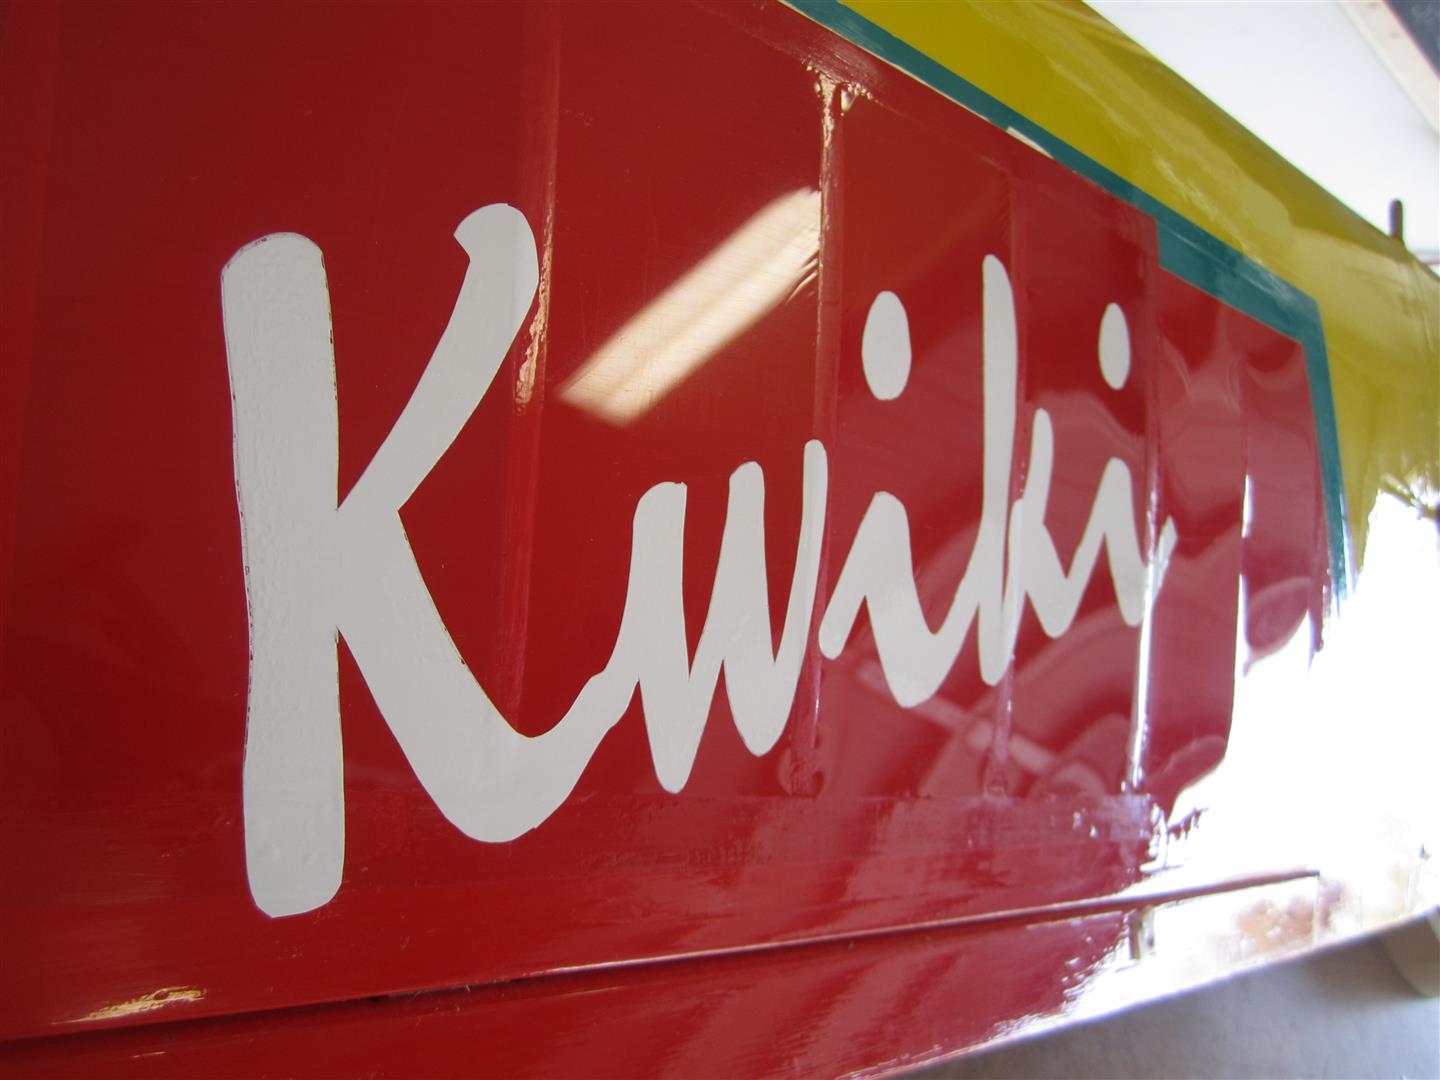
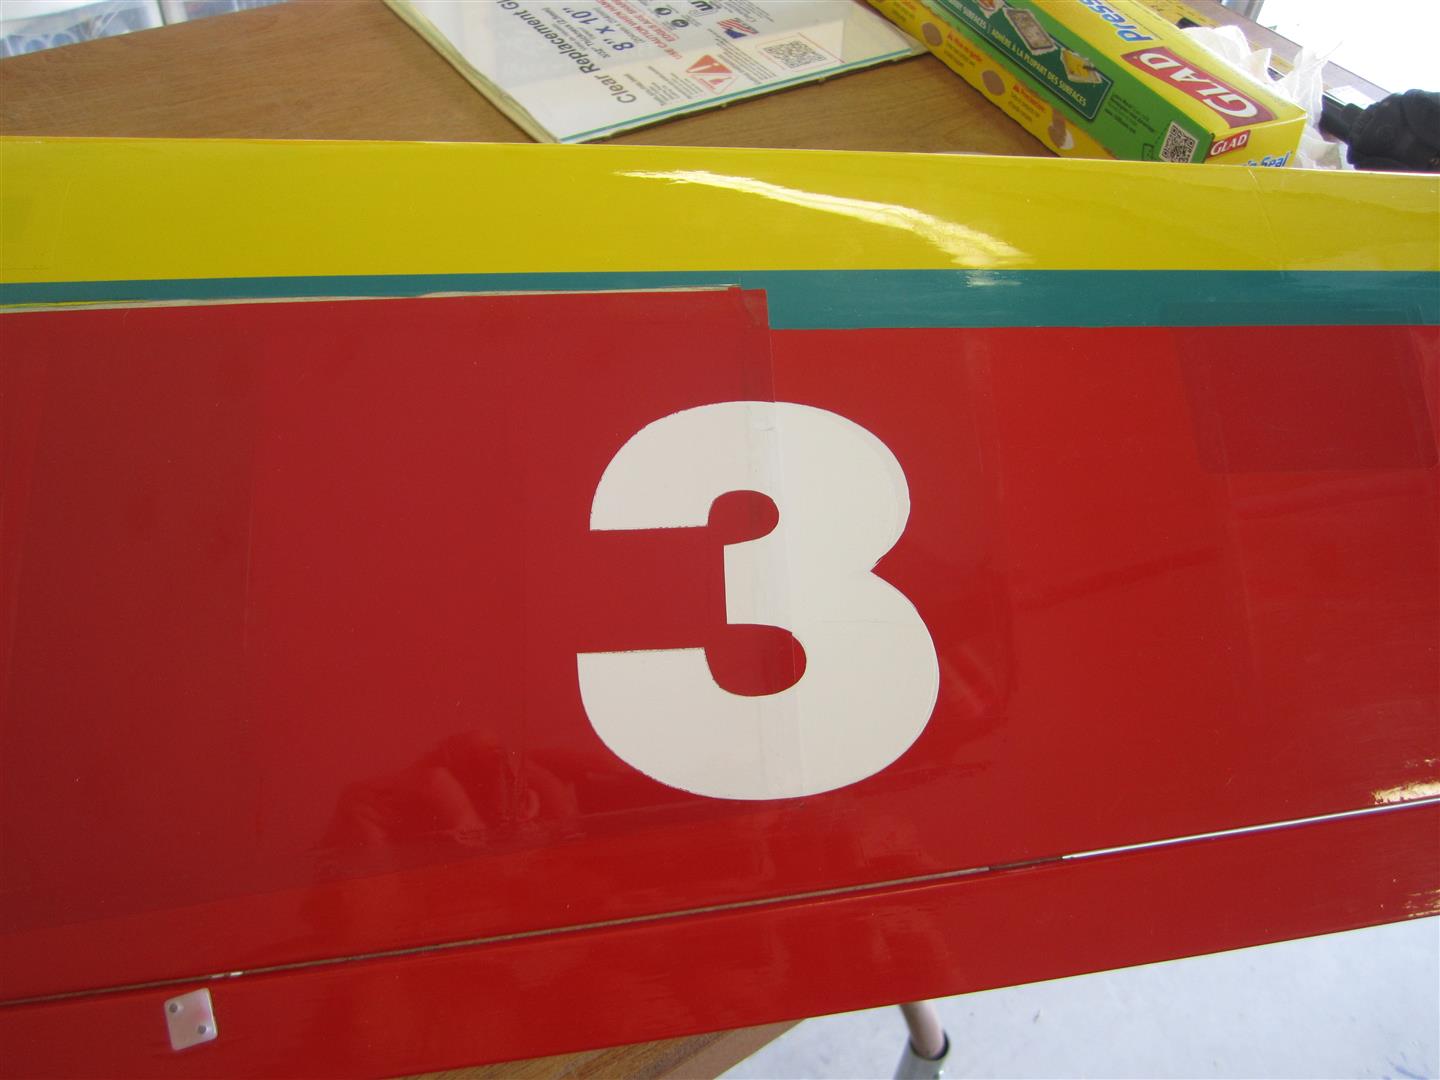
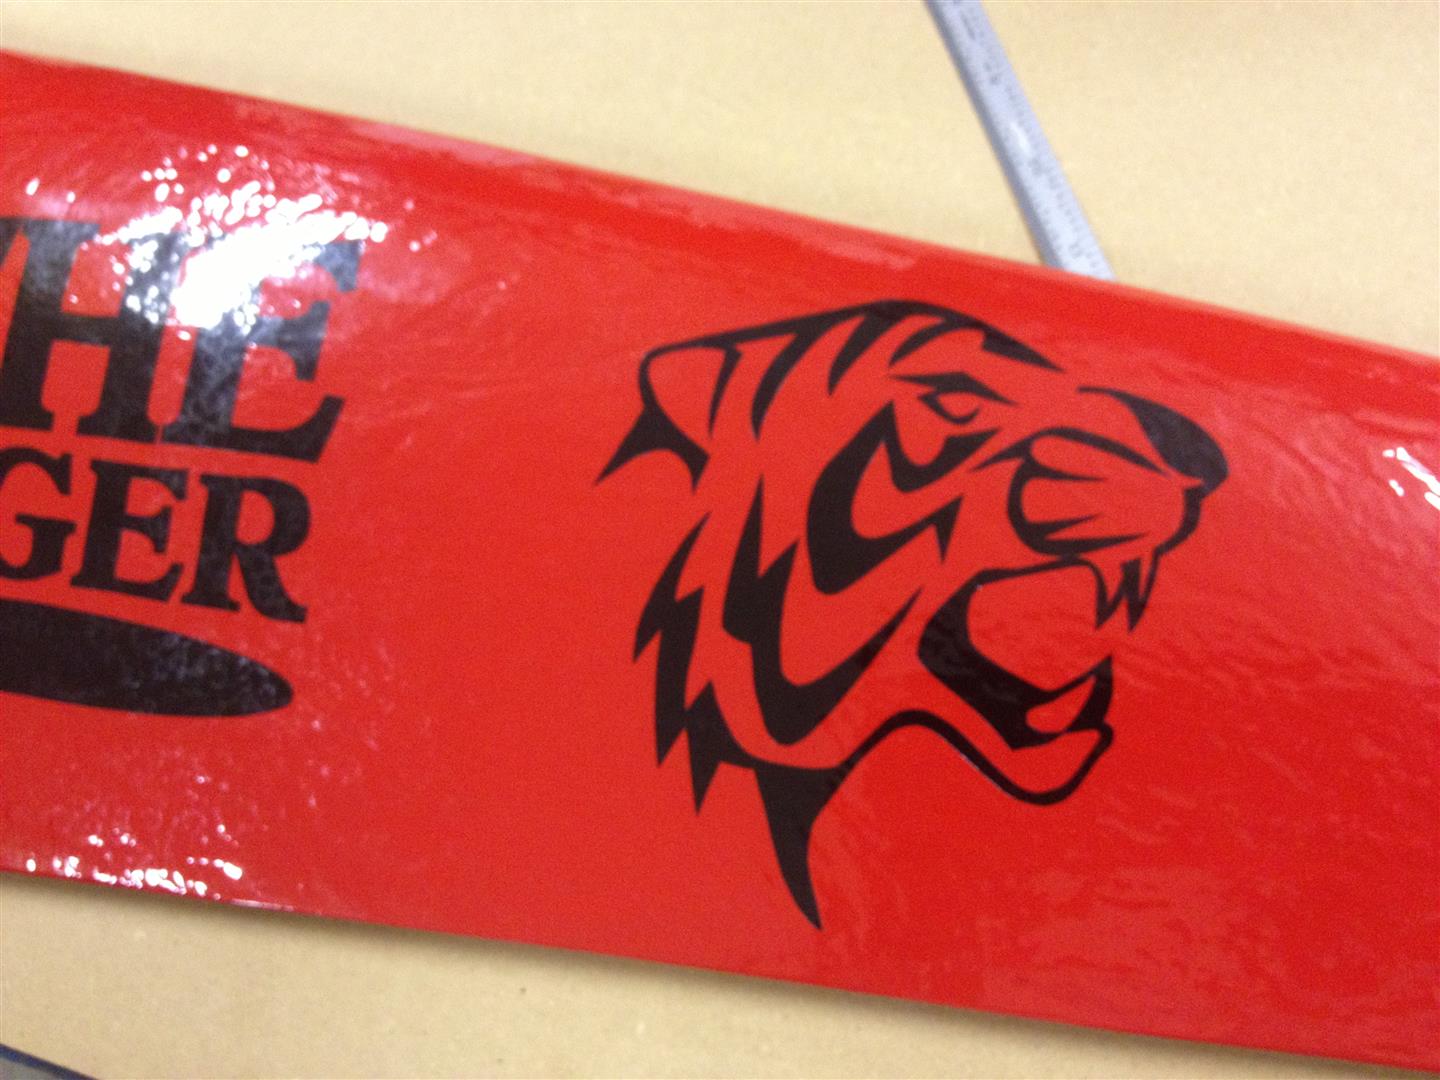
Monokote Graphics (30)   Monokote Graphics (32)Monokote Graphics (35)

And here it is…

Monokote Graphics (36)   Monokote Graphics (37)

The opportunities are fairly endless. If you are patient, you can create intricate designs with this method. For a simple, one piece design you might want to use the Windex/sheet glass cutting method, but you won’t need the Press’n Seal.

Monokote Graphics (38)   Monokote Graphics (40) Monokote Graphics (42)   Monokote Graphics (43)

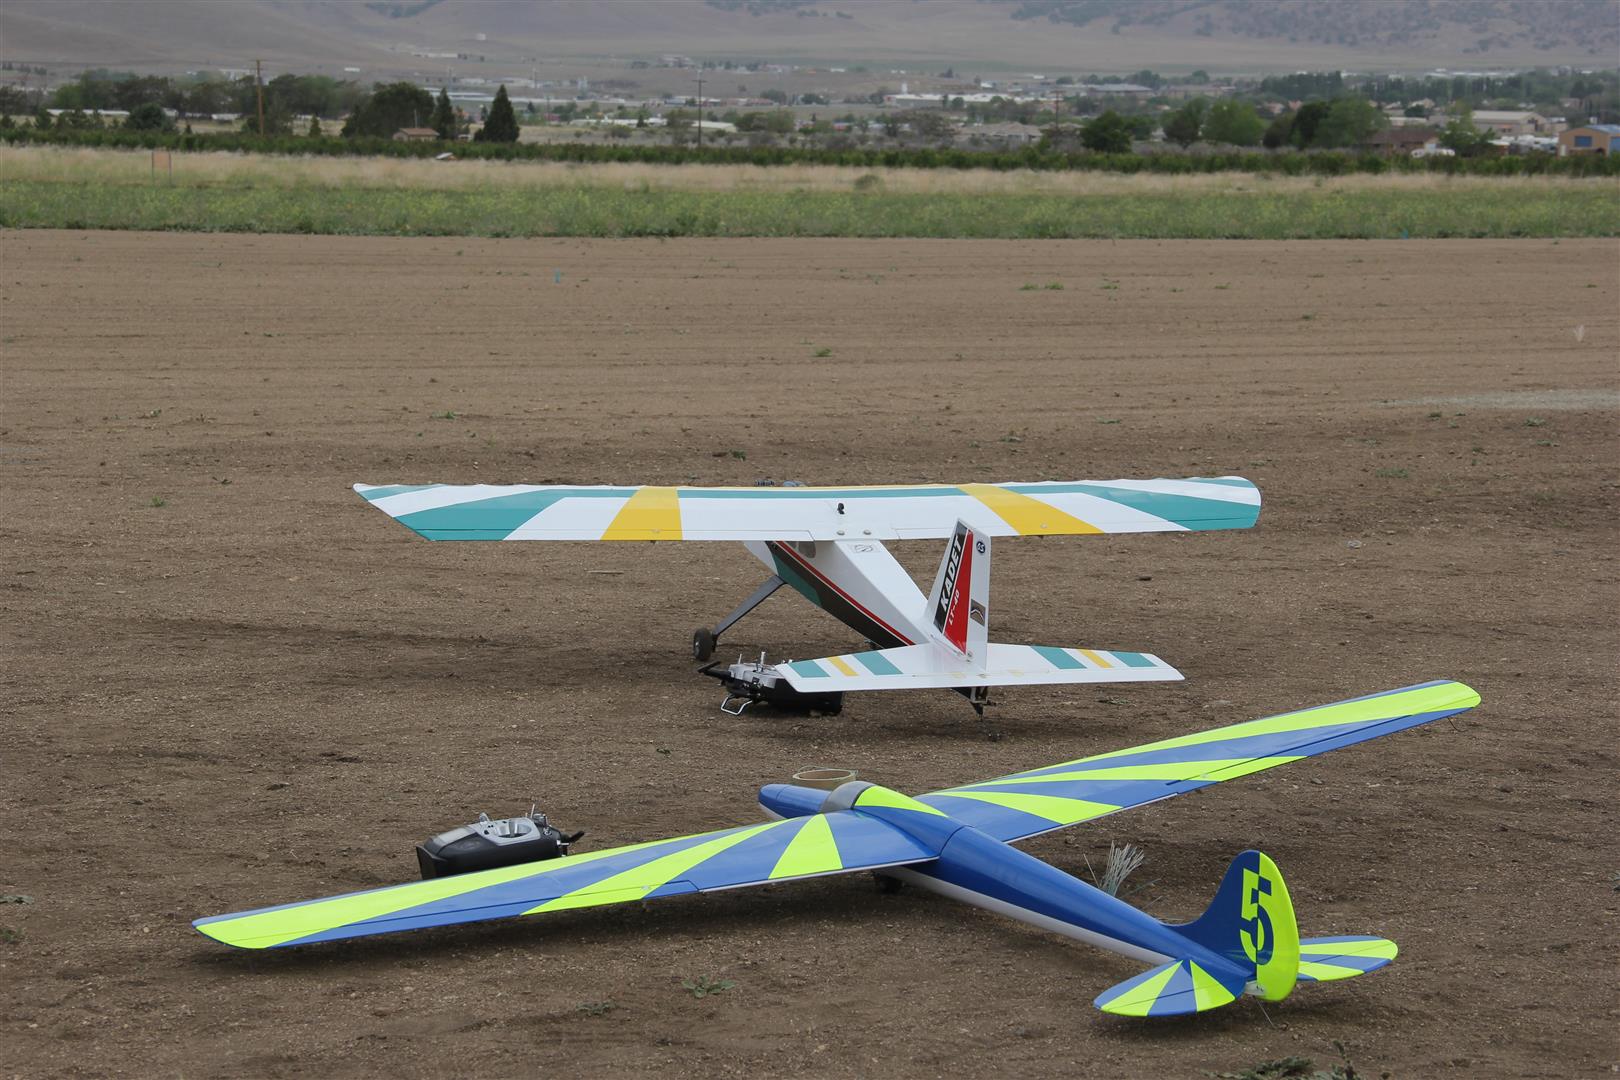
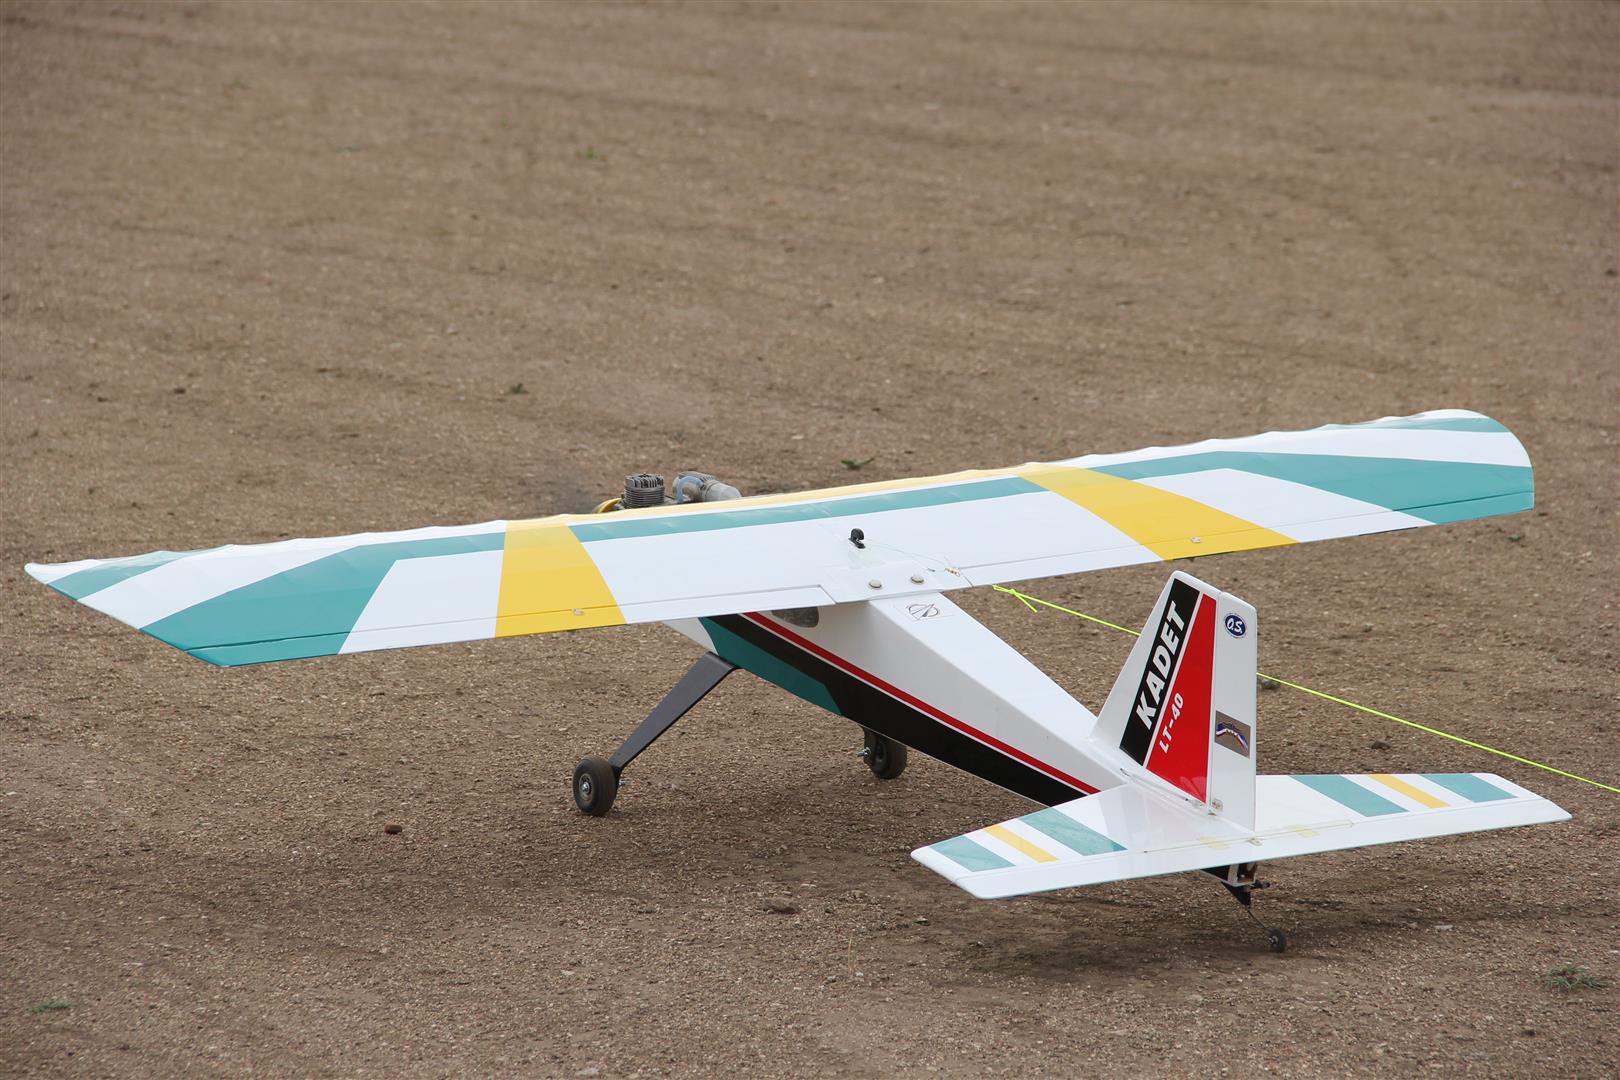
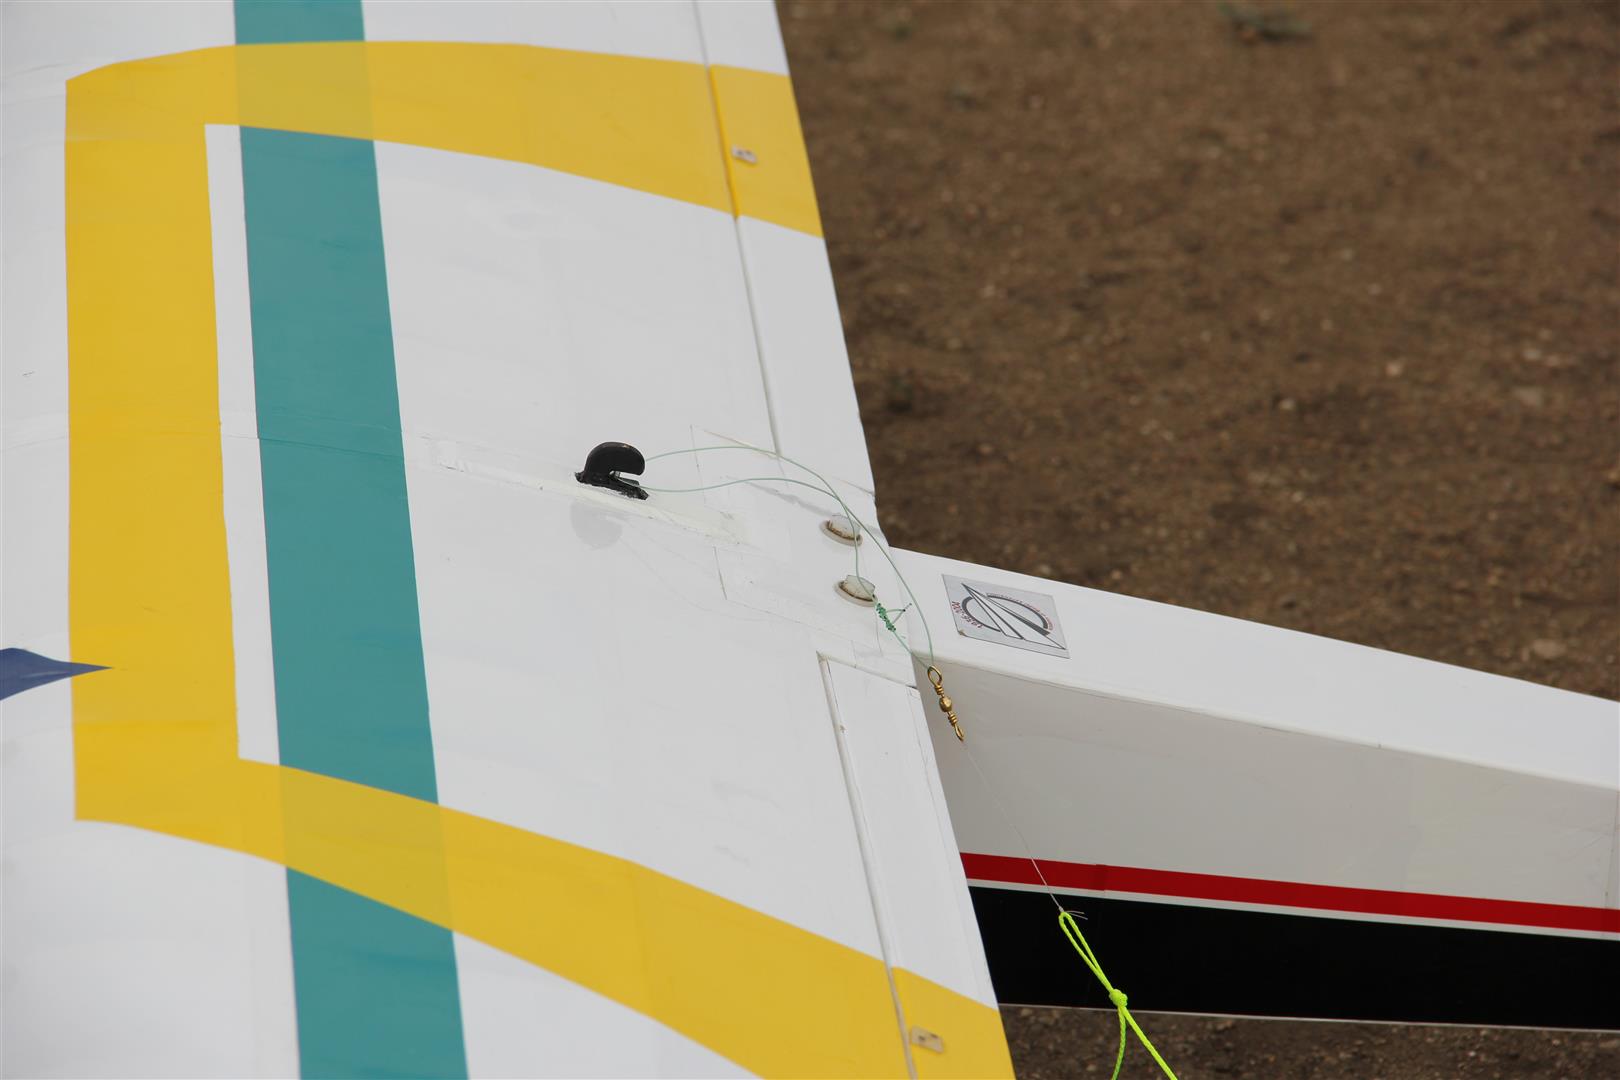
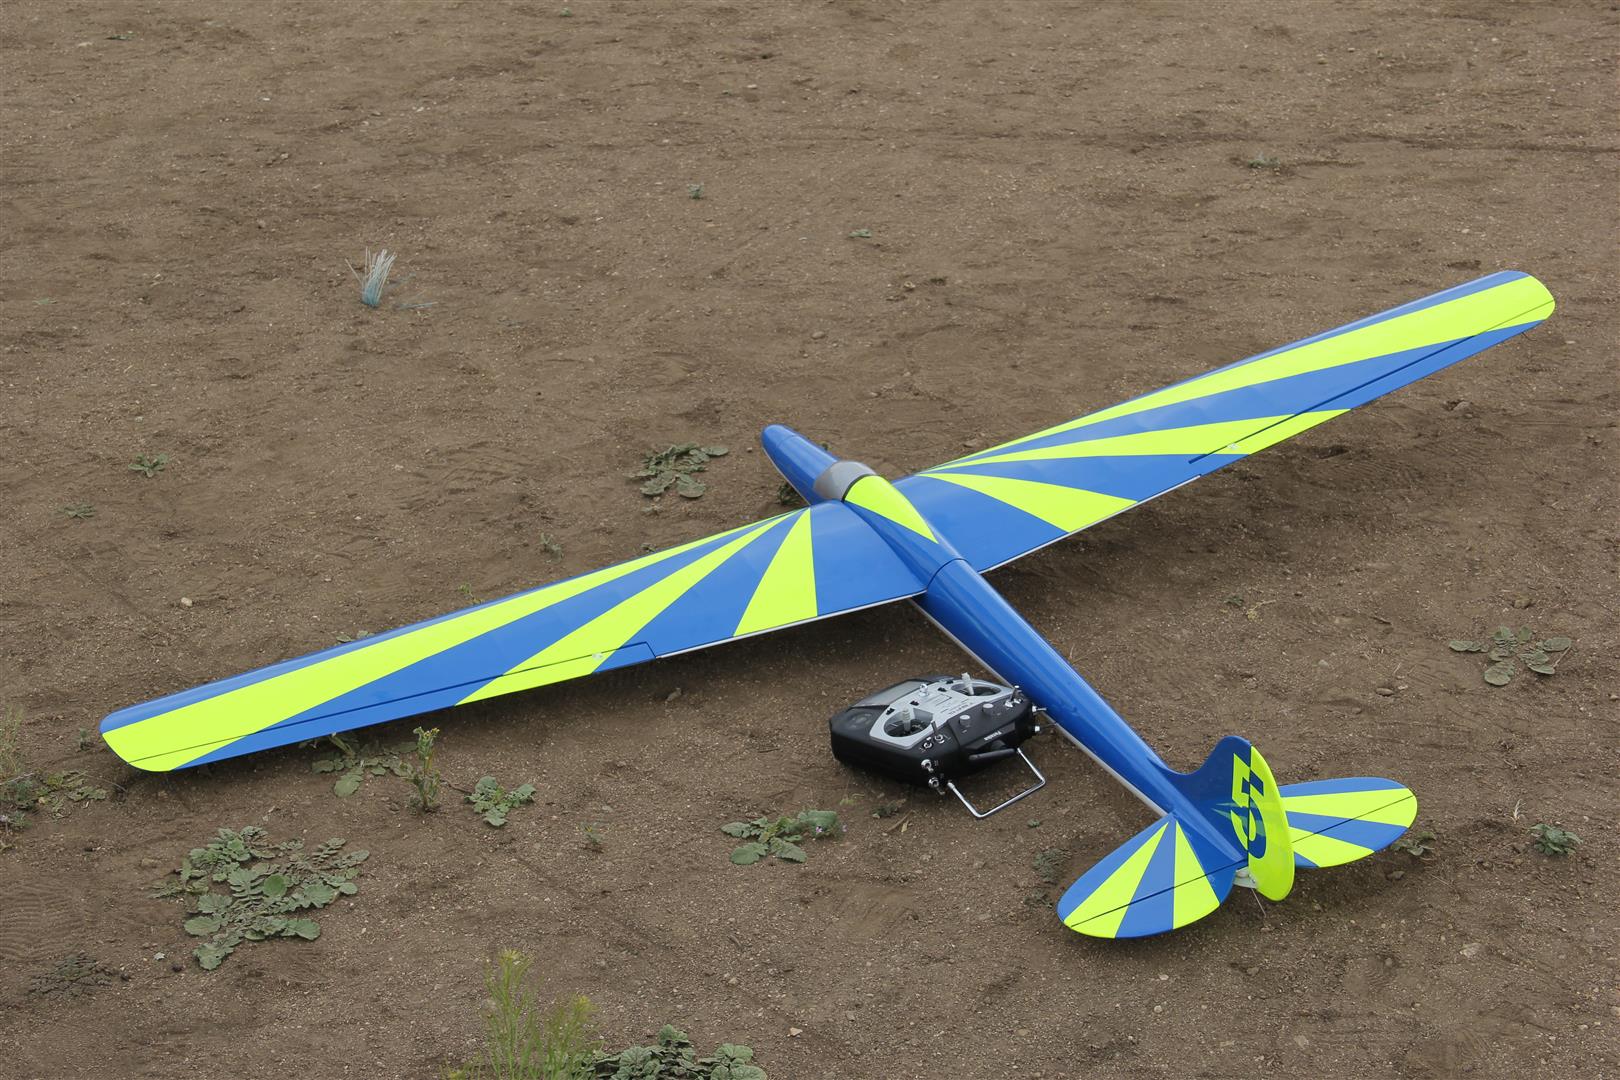
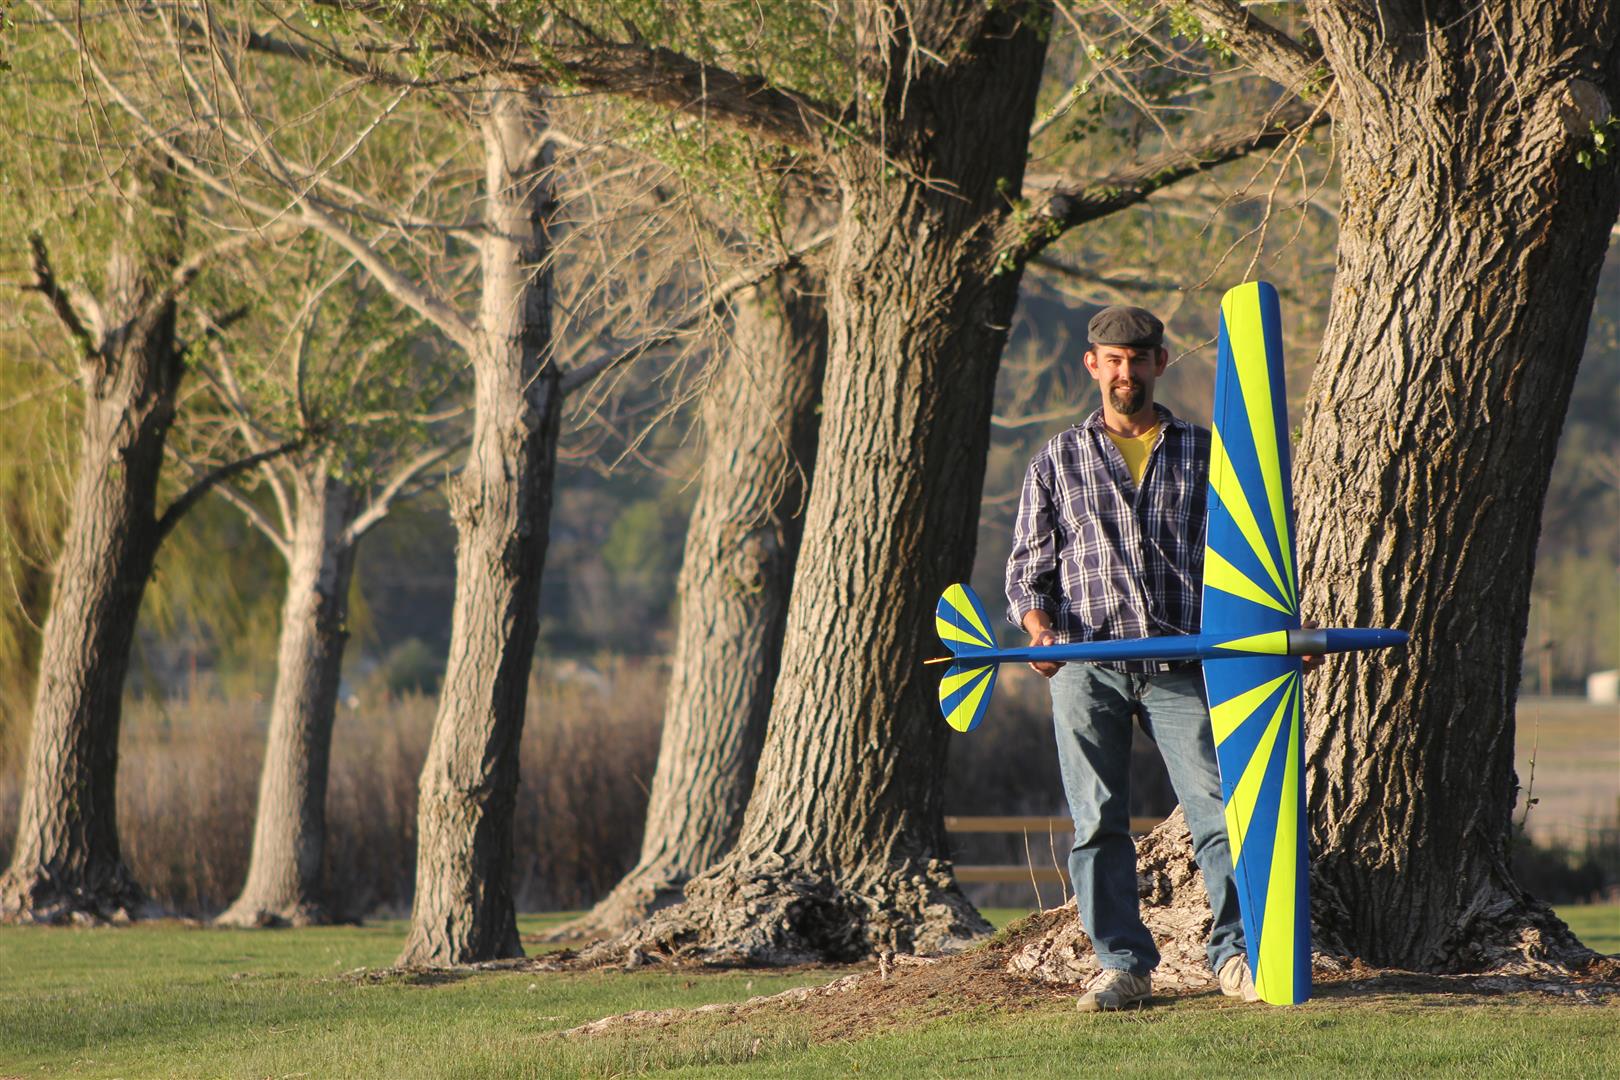
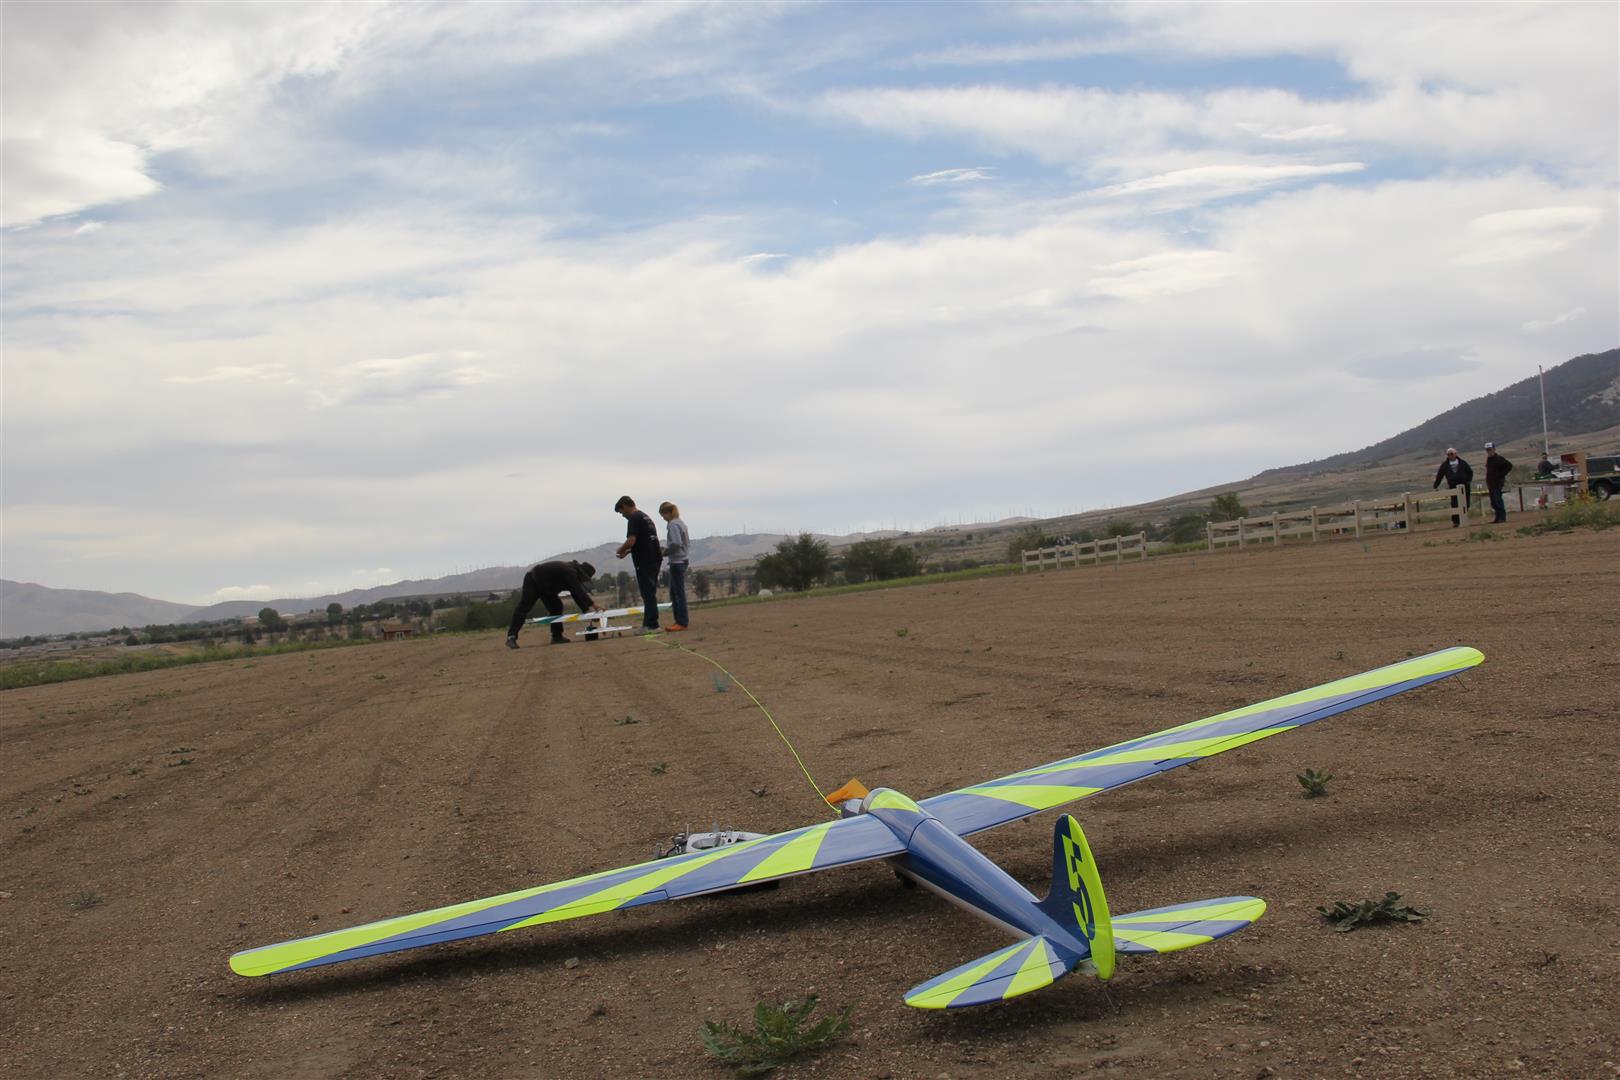
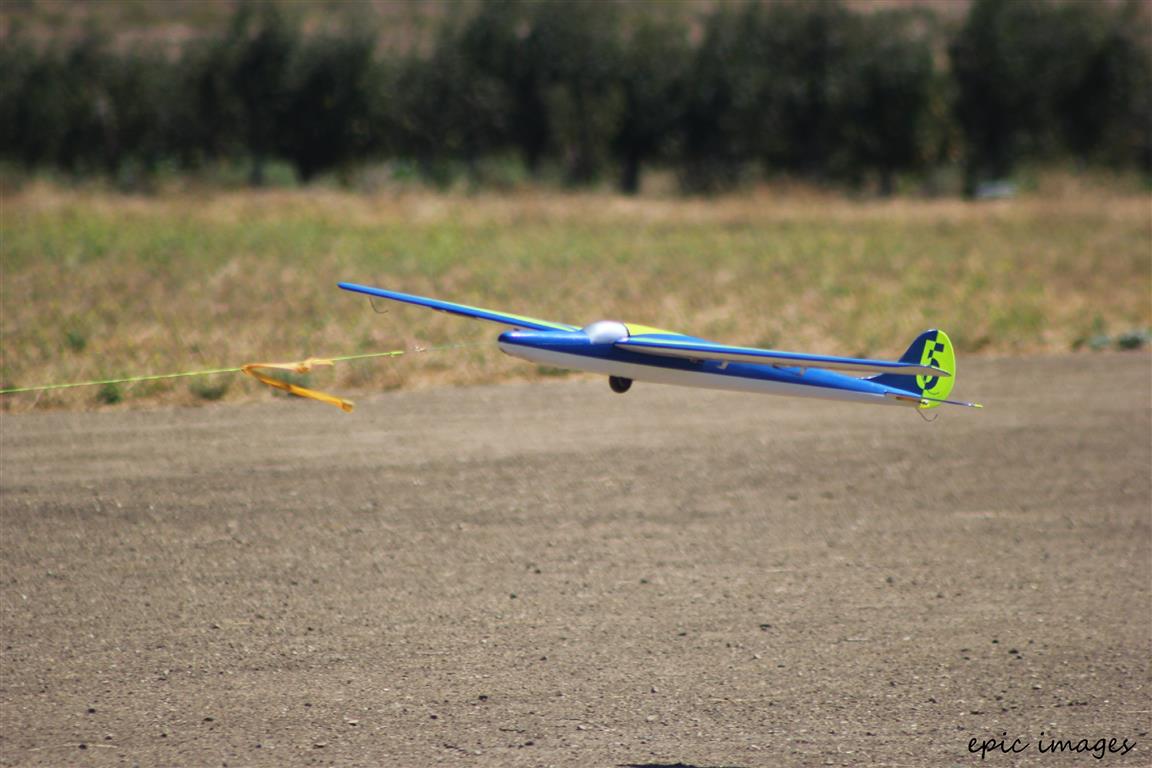
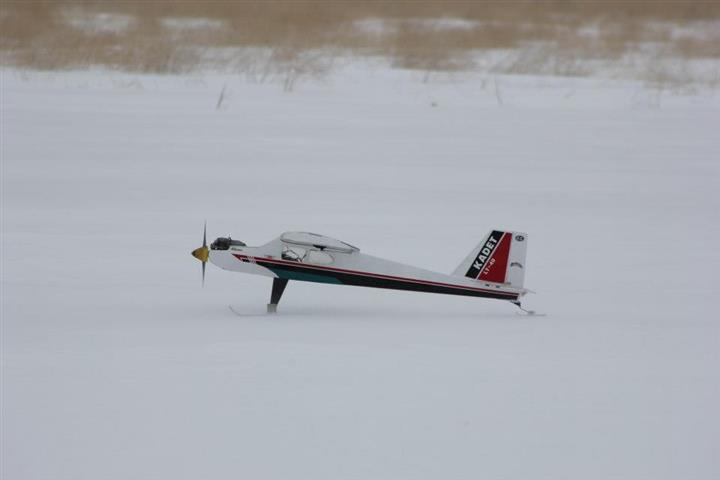
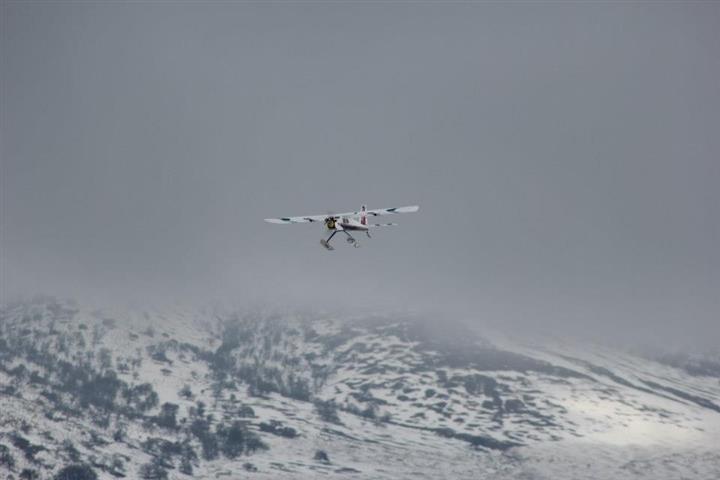
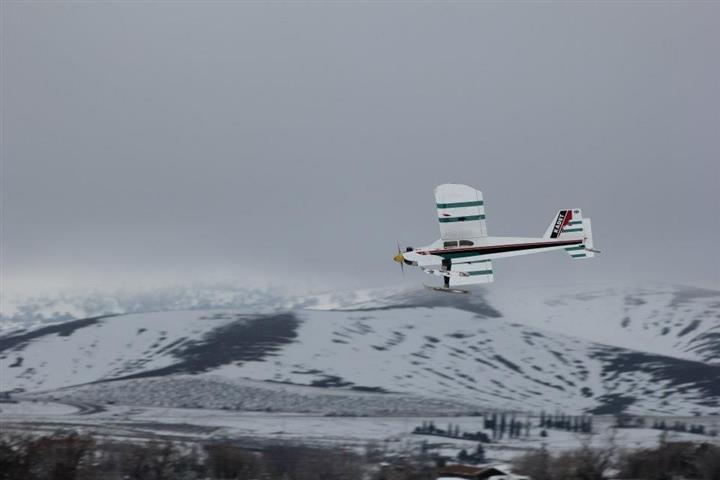
A few more pictures of graphics that I have done this way…

IMG_3323 (Large) IMG_3325 (Large) IMG_3329 (Large) IMG_3331 (Large) IMG_3337 (Large) IMG_3338 (Large)

There are some more tricks in the bag, but that’s it for today. I hope I’ve inspired you to do some creative graphic designs on your sport model. If you like the tips, feel free to like or share this page on facebook. Until next time, fly it low, inverted, and keep it out of the dirt!

On the Line… Aerotowing RC Gliders!

Gliders are a fascinating aspect of our RC hobby. There are several different types that fill unique places in the soaring world. The launch methods vary with the types of gliders flown. Hand launched, discus, and slope gliders are simply thrown or flung into the air by hand. Hi-start or bungee launching uses just that: a bungee to sling your flying machine heavenward. Winches are also used, as are power pods and an assortment of motor configurations with folding props, and so on. Some are carried piggy-back on powered planes. And some are pulled behind powered aircraft on a towline.

Welcome to the world of aerotowing!

112 (Large)

I live a few miles from the Mountain Valley Airport in Tehachapi, CA. Mountain Valley is home to a glider school and lots of glider flying. Most days from our RC field you can watch the full scale operations in full swing as glider after glider is towed into the sky. I used to watch them and wonder how it would be to duplicate their methods in RC. I got bit by the bug as they say…

I am by no means an authority on aerotowing. I just got excited about it and decided to give it a try. My purpose in this blog is to spark your interest and to demonstrate that it is very doable. At the end of the blog I will point you to some sources for information and equipment.

To do this with RC there are some differences from the full scale procedures. For instance, the full scale tow plane usually has the towline attached at the rear of the plane down by the tail wheel. The full scale glider pilot has the advantage of sitting directly behind the tow plane where he can see what is going on. In RC, with depth perception being what it is, and your perspective changing constantly as the aircraft duo circles the field you won’t have this nicety. It seems to work much better to put the towline anchor point up on top of the tow plane just aft of the CG. This way, if the glider deviates from the heading of the tow plane it won’t pull the tail of the tug with it. I think that could get pretty erratic, but you’re welcome to try!

My tow plane is a tattered old Sig Kadet LT-40 with an O.S. .46FX and 12X5 APC prop. The towline is attached to a homemade release that sticks out of the top of the wing just aft of the CG. It has a servo mounted to the bottom of the wing to activate it. This is an emergency feature, as normally you would only release the line at the glider end. However, should things go badly, you can release it here, and save the tow plane. It looks like this…

150 (Large)

157 (Large)

IMG_1565 (Large)

The towline is 75 feet of #18 premium braided mason twine from Home Depot. It comes in neon colors! I use an 8” loop of 60 lb mono at the tug end attached with a heavy fishing swivel and a 12 lb mono weak link. At the glider end I have another 8” loop of 60 lb mono attached with a heavy fishing swivel and an 8 lb mono weak link. The mono and swivels are all available at any fishing store. I also have a neon ribbon tied on just in front of the swivel setup. It is there for visibility. Here are some pictures of the line setup…

IMG_1562 (Large)

IMG_1567 (Large)

The glider is my own scratch built design. It was designed to be a somewhat retro looking glider. It is 4 channel control (ail.,ele.,rud.,split flaps). It also has a servo-actuated release in the nose. All servos are Hitec HS-85BB. Airfoil is SD6060. Span is 72″, area is 567 sq. in. Completed weight is 51 oz. There are wire skids in the tail and wingtips. It was a great project! It is too heavy to be much of a thermal ship; however the design is robust, and the main objective was the towing experience rather than lots of gliding. And here is the glider…

183 (Large)

287 (Large)

Operations are pretty straight forward. Be courteous to others using the runway, and make sure to communicate your plans. Line up the tow plane and glider at the start of the runway, facing into the wind. Hook up the towline, and stretch it out so it is straight. Make sure that the line is lying on TOP of the horizontal stab on the tow plane. Start the engine on the tow plane. Tow and glider pilots should be in close enough proximity to communicate well.

131 (Large)

Take off normally and climb straight ahead. If it is really windy (and we have wind most of the time), we will just climb as high as we can comfortably see, straight into the wind and release before any turns are made. If the wind is low, circling the field is really fun. I like to get some space under me before turning. After gaining sufficient altitude, make a big oval or figure eight, maintaining a steady climb until release. Make your turns gradual. No abrupt maneuvers here!

epic 1053 (Medium)

Up and away

The glider pilot will be holding some up elevator and keeping the wings level. Don’t try to bank the glider; let the towline pull it around the turn. Keep those wings level! You don’t want to get inside the tow plane in the turn. If you do, the line will slack and then jerk, and it becomes increasingly difficult to get back on course. This usually results in a broken weak link, and you will both need to land and try again. (This is the reason for the weak link; it will save you heartache and rebuilds.) Staying to the outside and above the tow plane seems to work best. When you get to the position where you want to release, preferably heading into the wind, just announce your intentions and flip the switch. If you turn out as you come off the line, it will look just like the big boys do!

Release

That about sums up my experience with aerotowing this past summer. I hope you decide to get in on the fun! Hobby King sells the release that I used in my glider. Horizon Hobbies/Parkzone has a KA8 with an optional release that may be a good way to get started. There are several others on the market also. http://www.rcaerotowing.com/ is an excellent resource for ideas and product sources. Of course, I am a proponent of building, and this is a great project to do your own designing and building. Drop me a note, as I will be glad to answer questions where I can, and would love to see your aerotowing project! Now go tow a glider!

Interested in scratchbuilding? See the glider building slideshow here… SCRATCHBUILDING

I would like to thank all of the local RC Guys who have helped and cheered this effort. Also my lovely wife for the wonderful photography. You have all helped to make this project a success!


Snow! Skis! And a kid flies solo!

I’m sitting at my computer tonight drinking coffee and watching snow blow past the window. The fireplace sure feels good! Do you fly off of snow? If not, maybe you’ll want to give it a try! Last winter I threw some quick skis together for the tattered old trainer that we use for all sorts of experiments.  I decided to put together a blog post tonight with some pictures and description of how I accomplished the project. Here goes…

First, I cut some scrap pieces of .032″ aluminum into the necessary sizes for each piece. Then, using a sheet metal brake, I bent the brackets and keels to shape. You could do this with a vise if you don’t have access to a brake. Then I shaped the pointy front ends and curled them up around an old piece of pipe. Everything is held together with pop rivets.


IMG_1991 (Small)


I also made a little tail ski to replace the tail wheel. It is held in place with three wheel collars.

IMG_1992 (Small)


Here is a bottom view of the skis. The keels help to keep everything going straight. I tried to grind the rivet heads down as thin as I could. Countersunk rivets might be a good idea.

IMG_1998 (Small)

IMG_1999 (Small)


This picture shows the nylon spacer that I put in the mains. These are available at most home improvement stores. I also bent the corners of the brackets to provide stops that keep the skis in the desired range of travel. This worked fine, but I’m sure a better solution could be implemented. Make sure that you mount the brackets a little forward of the center on each ski. You want the skis to droop a little in the back so that the tips won’t dig in on landing.

IMG_2002 (Small)

Now for the flight pictures…

IMG_1995 (Small)

IMG_1996 (Small)

IMG_1994 (Small)

IMG_1993 (Small)


It was bitterly cold, but flying off the snow was great fun! My daughter got to do her first flight off the buddy cord that day. We froze our fingers and had an all around good time! If you live somewhere with snow, I hope this will inspire you to get out there and try it. Of course there are some commercial skis available also, but if you have access to a few basic shop tools this is a simple project that you can build yourself! Drop me a note; I’d love to hear about your skis or answer any questions that I can.

Back to Eric’s Blog